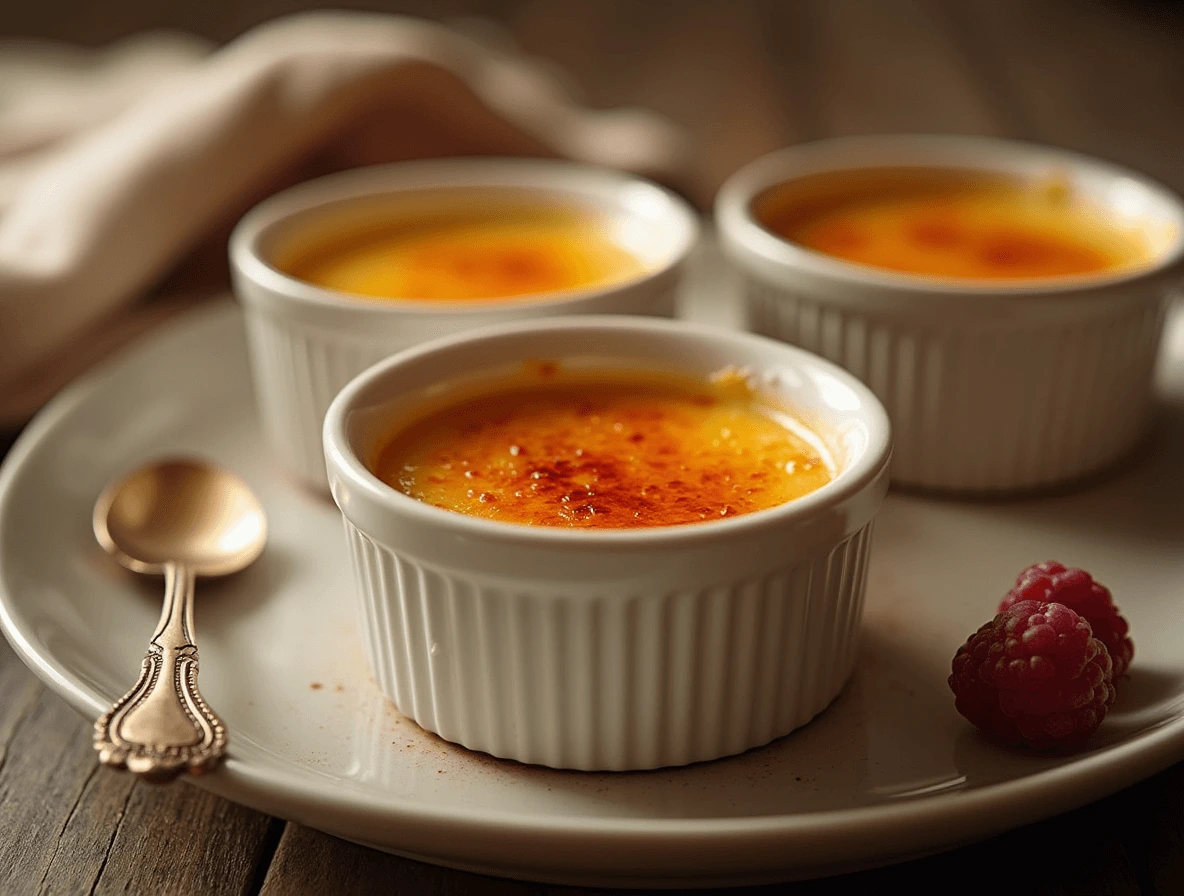
Crème brûlée is a timeless French dessert known for its rich, creamy custard base and signature caramelized sugar topping. Despite its elegant appearance, this indulgent treat is surprisingly simple to make at home with just a few basic ingredients. Whether you’re hosting a dinner party or craving a luxurious homemade dessert, crème brûlée is a guaranteed crowd-pleaser.
The key to its irresistible texture lies in the combination of heavy cream, egg yolks, sugar, and vanilla, which create a silky-smooth custard. Once baked and properly chilled, the magic happens when you caramelize a thin layer of sugar on top, forming a crisp, golden crust that cracks beautifully with every spoonful. The contrast between the crunchy topping and the velvety custard makes every bite unforgettable.
Though crème brûlée is often found on upscale restaurant menus, making it at home is easier than you might think. With just five simple ingredients and a few easy steps, you can recreate this classic French dessert in your own kitchen. Whether you use a kitchen torch or an oven broiler to caramelize the sugar, you’ll end up with a dessert that’s both impressive and delicious.
Table of Contents
What Is Crème Brûlée? A Classic French Dessert
The Origins of Crème Brûlée in French Cuisine
Crème brûlée, meaning “burnt cream” in French, is a luxurious custard dessert topped with a thin, caramelized sugar crust. This iconic dish has been a staple of French cuisine for centuries, celebrated for its smooth, creamy texture and the delightful contrast between the rich custard and the crisp topping. While it is widely associated with France, the exact origins of crème brûlée remain a topic of debate among culinary historians.
The first known reference to a dessert resembling crème brûlée dates back to the 17th century. One of the earliest records appears in a French cookbook written by François Massialot, a royal chef who served at the court of Louis XIV. In his 1691 book Le Cuisinier Royal et Bourgeois, Massialot described a dessert consisting of a creamy custard base with a caramelized sugar topping—a recipe strikingly similar to the crème brûlée we know today.
Interestingly, variations of this dessert can be found in other European cuisines. Spain has its own version, crema catalana, which predates the French recipe and is made with milk instead of cream, flavored with cinnamon and citrus zest. Similarly, England has a dish called burnt cream or Trinity cream, famously served at Trinity College, Cambridge. Despite these regional differences, the French version has remained the most popular and widely recognized worldwide.
Why Crème Brûlée Stands Out
What sets crème brûlée apart from other custard-based desserts is its signature caramelized sugar crust. Unlike traditional puddings or flans, which have a smooth or sauce-covered top, crème brûlée is finished with a thin layer of granulated sugar that is torched or broiled until it forms a crisp, golden shell. This creates the distinctive experience of cracking through the brittle caramelized surface to reveal the velvety custard underneath—a texture contrast that makes every bite satisfying.
Today, crème brûlée is a beloved dessert found in fine dining restaurants and home kitchens alike. Its versatility allows for creative flavor variations, such as chocolate, coffee, lavender, and even matcha crème brûlée, while the classic vanilla version remains a favorite. Whether served as an elegant conclusion to a gourmet meal or a simple yet decadent homemade treat, crème brûlée continues to be a symbol of French culinary excellence.
Crème Brûlée: A Restaurant-Style Dessert That Can Be Easily Made at Home
Crème brûlée is often associated with fine dining, frequently appearing on the dessert menus of upscale restaurants and French bistros. Its rich custard base, infused with delicate vanilla, paired with a crisp caramelized sugar topping, gives it a luxurious appeal. Many people assume that this elegant dessert requires special skills or complex techniques to prepare, but in reality, it’s surprisingly simple to make in your own kitchen.
One of the reasons crème brûlée is a staple in restaurants is its ability to be prepared in advance. Chefs often make the custard ahead of time, allowing it to chill and set properly before caramelizing the sugar topping just before serving. This same approach makes it an ideal dessert for home cooks who want to impress guests without last-minute stress. By preparing the custard a day ahead, you can focus on enjoying your meal and finish the dessert in minutes when it’s time to serve.
Despite its sophisticated presentation, crème brûlée requires only a handful of basic ingredients—heavy cream, egg yolks, sugar, vanilla, and a pinch of salt. The key to its creamy consistency lies in the gentle baking process, often done using a water bath (bain-marie) to prevent overcooking. While restaurants typically use professional-grade kitchen torches to achieve the perfectly caramelized sugar topping, home cooks can achieve the same results using an affordable kitchen torch or even a broiler.
By following a simple step-by-step process, anyone can make crème brûlée at home and enjoy the same indulgent experience as they would at a high-end restaurant. The combination of creamy, rich custard and a crisp caramelized sugar topping makes this dessert an unforgettable treat, whether served for a special occasion or as an everyday indulgence.
5 Simple Ingredients You Need for Crème Brûlée
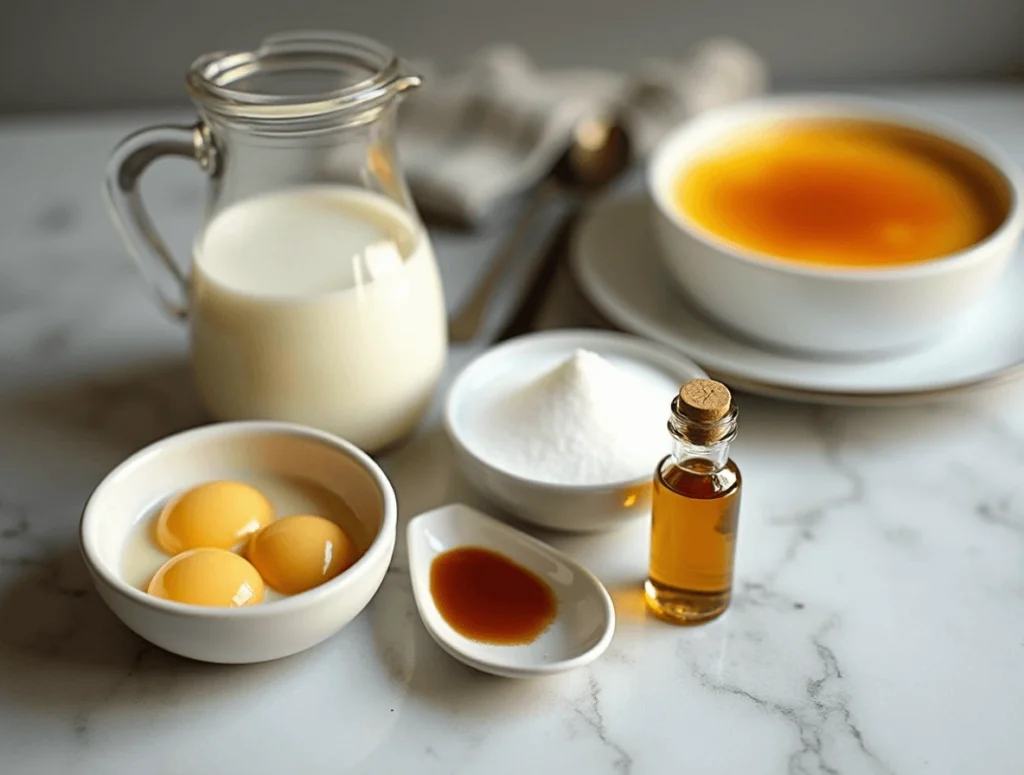
Heavy Cream – Creates the Rich, Creamy Texture
Heavy cream is the foundation of crème brûlée, giving it its signature smooth and velvety texture. It provides the rich, indulgent mouthfeel that makes this dessert so luxurious. The high-fat content in heavy cream helps create a custard that is both creamy and stable, ensuring a perfect consistency every time.
When heated, heavy cream blends seamlessly with the egg yolks and sugar, forming a silky mixture that thickens beautifully during baking. It’s important to heat the cream gently to avoid scorching and to properly temper the eggs, preventing curdling.
For the best results, always use fresh, high-quality heavy cream with at least 35% fat content. Avoid using low-fat alternatives, as they won’t provide the same richness and smoothness essential for an authentic crème brûlée.
Egg Yolks – Essential for the Custard’s Smooth Consistency
Egg yolks play a crucial role in creating the silky, creamy texture that defines a perfect crème brûlée. They act as a natural thickening agent, helping the custard set while maintaining its rich and velvety consistency. Without egg yolks, the custard would lack structure and fail to achieve its signature smoothness.
When gently mixed with sugar and warm cream, the egg yolks form a delicate emulsion that ensures a uniform, creamy texture. It’s important to whisk them carefully to avoid incorporating too much air, which could lead to a grainy or bubbly custard. Straining the mixture before baking also helps remove any bits of cooked egg, ensuring a flawlessly smooth result.
Using high-quality, fresh egg yolks enhances both the texture and flavor of crème brûlée. Their natural richness contributes to the dessert’s indulgent taste, making every spoonful irresistibly creamy and satisfying.
Granulated Sugar – Used in Both the Custard and Caramelized Topping
Granulated sugar plays a vital role in crème brûlée, as it is used in both the custard and the final caramelized topping. In the custard, sugar helps balance the richness of the cream and egg yolks, giving the dessert its sweet, smooth flavor. It dissolves easily into the custard mixture when heated, ensuring a uniform sweetness throughout.
The second crucial use of granulated sugar is in the creation of the crispy, golden caramelized top. Once the custard has been baked and chilled, a thin layer of sugar is sprinkled evenly over the surface. Using a kitchen torch or broiler, the sugar melts and forms a hard, glass-like shell. This contrast between the warm, crunchy sugar and the cool, creamy custard is what makes crème brûlée such a unique and delightful dessert.
Vanilla extract (or vanilla bean) – Adds authentic flavor
Vanilla is the heart and soul of a classic crème brûlée. Using vanilla extract or a vanilla bean elevates the flavor, giving the custard its warm, aromatic depth. Vanilla extract is the more common choice due to its convenience and availability, offering a smooth and rich flavor that complements the creamy custard perfectly.
For those who want to take their crème brûlée to the next level, vanilla beans provide an extra layer of authenticity. The tiny, fragrant seeds from the vanilla pod infuse the custard with an intense, pure vanilla flavor that’s unmatched by extract alone. Plus, the little flecks of vanilla seeds in the finished dessert add a visual touch that signals high quality.
While vanilla extract is a fantastic option for most home cooks, using a vanilla bean is a great choice when you want to impress guests or indulge in a more luxurious version of this French classic.
A Pinch of Salt – Enhances the Overall Taste
A small pinch of salt might seem like an unexpected addition to a sweet dessert like crème brûlée, but it plays an important role in enhancing the overall flavor. Salt works as a flavor amplifier, subtly balancing the richness of the cream and the sweetness of the sugar. It doesn’t overpower the dessert but instead helps to bring out the other ingredients, especially the vanilla.
In addition, salt can help to cut through the creaminess of the custard, preventing it from feeling too heavy or overly rich. This slight contrast makes each spoonful more enjoyable, allowing the flavors to shine without overwhelming the palate.
So, while it may seem like a small detail, that pinch of salt is essential in achieving the perfect flavor balance in your crème brûlée.
Step-by-Step Guide: How to Make Crème Brûlée at Home
Step 1: Prepare the Custard – Heat the Cream, Mix with Egg Yolks, and Add Vanilla
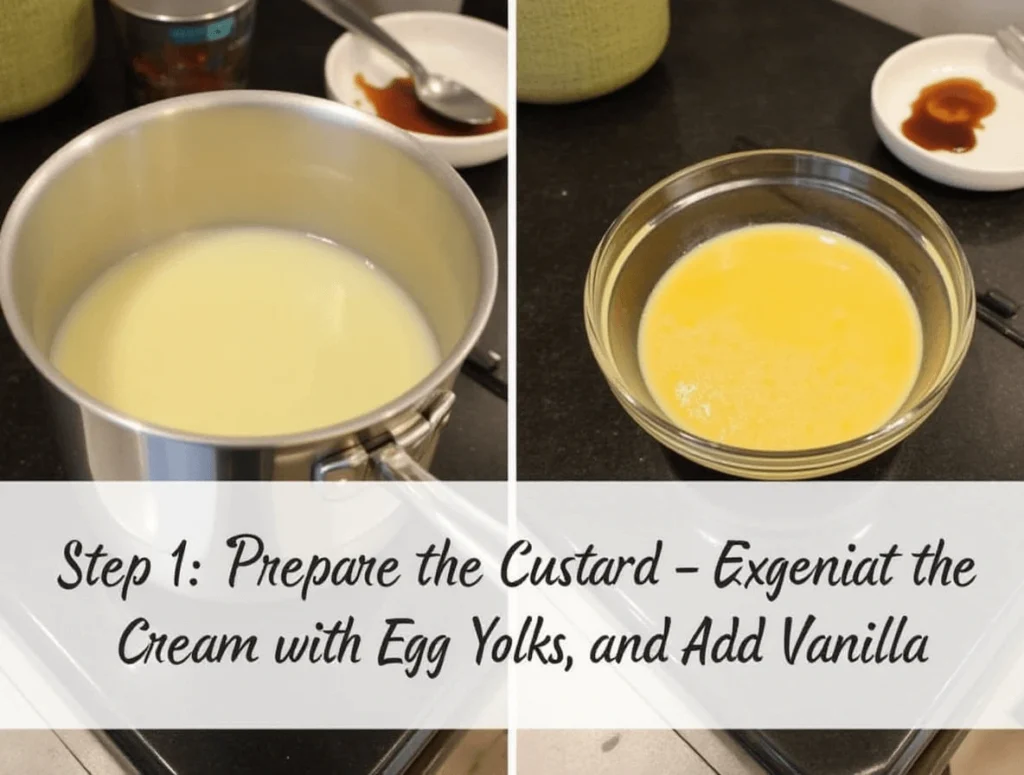
The first step in making crème brûlée is preparing the custard, which forms the silky-smooth base of the dessert. Start by heating the heavy cream in a saucepan over medium heat. You want to warm the cream gently, just until it begins to steam and small bubbles start to form around the edges. Be careful not to bring it to a boil, as this can cause the cream to separate or curdle. The goal is to heat the cream to a temperature that will help it blend seamlessly with the egg yolks.
While the cream is heating, it’s time to whisk the egg yolks and sugar together in a separate bowl. The sugar helps to sweeten the custard and dissolve into the egg yolks, creating a smooth mixture. Whisk until the yolks become lighter in color and slightly thickened, which helps the custard maintain its smooth consistency once baked. The goal is to combine the ingredients without introducing air bubbles that might affect the texture.
Once the cream is warmed, it’s important to temper the eggs. Tempering is a technique that ensures the eggs don’t cook too quickly when they’re mixed with the hot cream, which could lead to scrambling. To do this, slowly pour a small amount of the hot cream into the egg mixture while continuously whisking. This will gradually raise the temperature of the eggs without shocking them. After a few slow pours, you can then whisk the egg mixture back into the rest of the cream in the saucepan.
Now that the eggs and cream are combined, it’s time to add the flavor. Vanilla extract (or, if you prefer a more intense vanilla flavor, a vanilla bean) is added at this stage. The vanilla enhances the richness of the custard and infuses it with its signature aroma. If using a vanilla bean, slice it down the middle, scrape out the seeds, and add both the seeds and the pod to the cream while heating it. After combining everything, remove the vanilla pod, if used, and your custard mixture is ready for the next step in the process.
This custard base is the heart of your crème brûlée, so ensuring it’s perfectly smooth and well-mixed is key to achieving the desired texture in the final dessert.
Step 2: Bake in a Water Bath (Bain-Marie) – Ensures Even Cooking for a Silky Texture
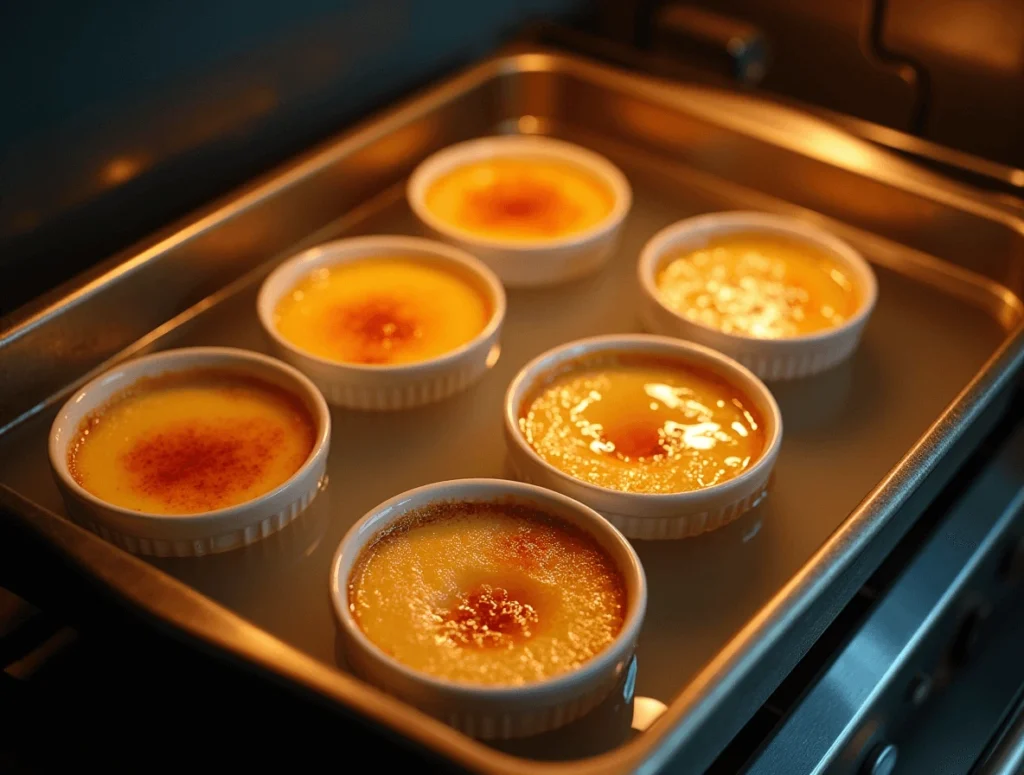
One of the key steps in making a perfect crème brûlée is baking it in a water bath, also known as a bain-marie. This method is crucial for achieving the smooth, silky texture that crème brûlée is known for. Without a water bath, the custard may cook unevenly, causing it to curdle or separate, resulting in a less-than-perfect dessert.
A water bath works by providing gentle, even heat to the custard as it bakes. The water surrounds the ramekins and helps to maintain a consistent temperature, preventing the custard from cooking too quickly or too unevenly. This slow, steady cooking process is what allows the eggs and cream to come together into a luscious, velvety custard. If the custard heats too fast, it can develop a grainy texture, so the water bath helps maintain the right balance of heat, ensuring a smooth finish.
To set up the water bath, place your filled ramekins into a larger baking dish. Once your ramekins are in position, carefully pour hot water into the baking dish around the ramekins, ensuring that the water comes about halfway up the sides of the ramekins. It’s important to use hot water rather than cold, as this helps prevent the temperature from fluctuating during baking. The water should not overflow into the custard mixture, so make sure your ramekins are stable and the water level is just right.
As the crème brûlée bakes in the water bath, the custard should gently set, and you’ll notice a slight wobble in the center when it’s done. This is normal and a sign that it’s perfectly cooked, as the custard will continue to firm up while it chills in the fridge. The water bath helps prevent the custard from overcooking, leaving you with a creamy texture that melts in your mouth.
By using a bain-marie, you’re essentially creating an environment that mimics a professional pastry kitchen’s precise temperature control, resulting in an expertly baked crème brûlée every time.
Step 3: Chill and Caramelize the Sugar Topping
Once your crème brûlée custards have baked to perfection in a water bath and have had time to cool, it’s time for the final touch: the signature caramelized sugar topping. This step is essential, as it adds that delicious contrast between the silky custard and the crunchy, golden layer of sugar that defines crème brûlée.
Before caramelizing, make sure your custards have chilled in the fridge for at least 2 hours, or ideally overnight. The custard needs to set properly in order to hold its shape when the sugar is added on top. This also gives the flavors time to meld, resulting in a smoother, more flavorful dessert.
Now, it’s time to add the sugar topping. Sprinkle a thin, even layer of granulated sugar over the surface of the custard. The goal is to cover the custard entirely with a thin, uniform layer. Be careful not to use too much sugar, as it will result in a thick, uneven topping that could burn during the caramelizing process.
To caramelize the sugar, you have two main methods to choose from:
Using a Kitchen Torch
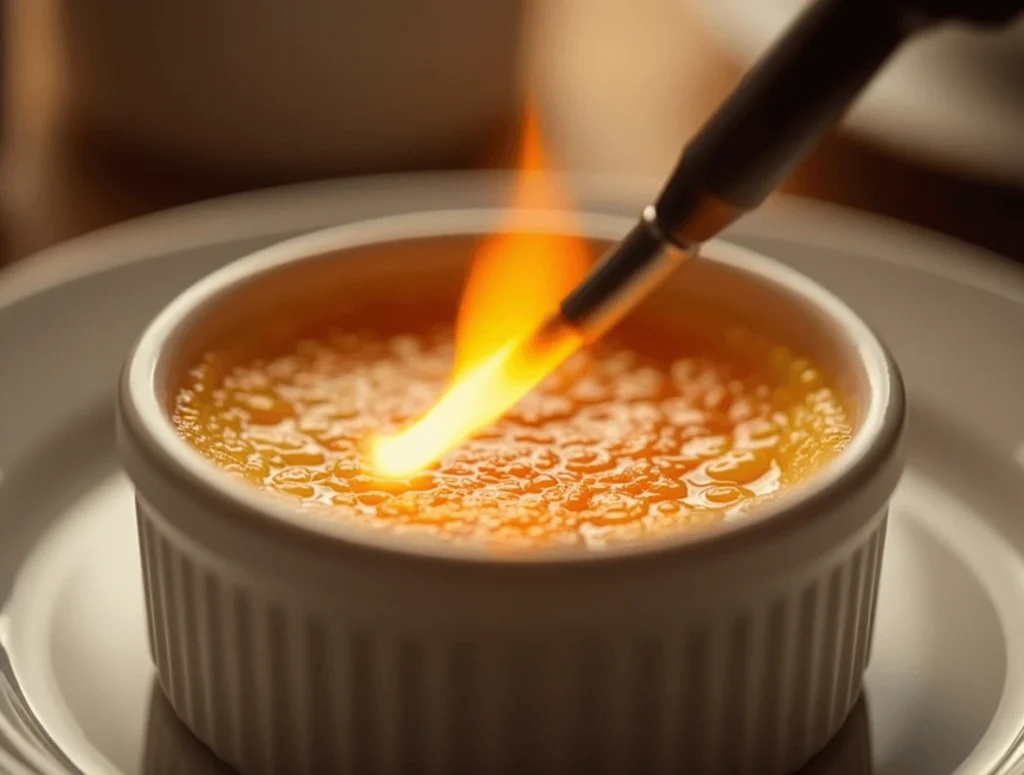
The most traditional method is to use a kitchen torch. This gives you precise control over the sugar’s caramelization and ensures a beautifully even finish. Hold the torch about 2 to 3 inches above the surface of the custard and move it in small circles over the sugar. You’ll see the sugar begin to melt and bubble, turning from a clear liquid to a rich, golden-brown color. Continue until the sugar has evenly browned, but be careful not to let it burn, as this can create a bitter taste. The key is to watch the sugar closely as it turns into a glossy, amber-colored crust.
Using an Oven Broiler
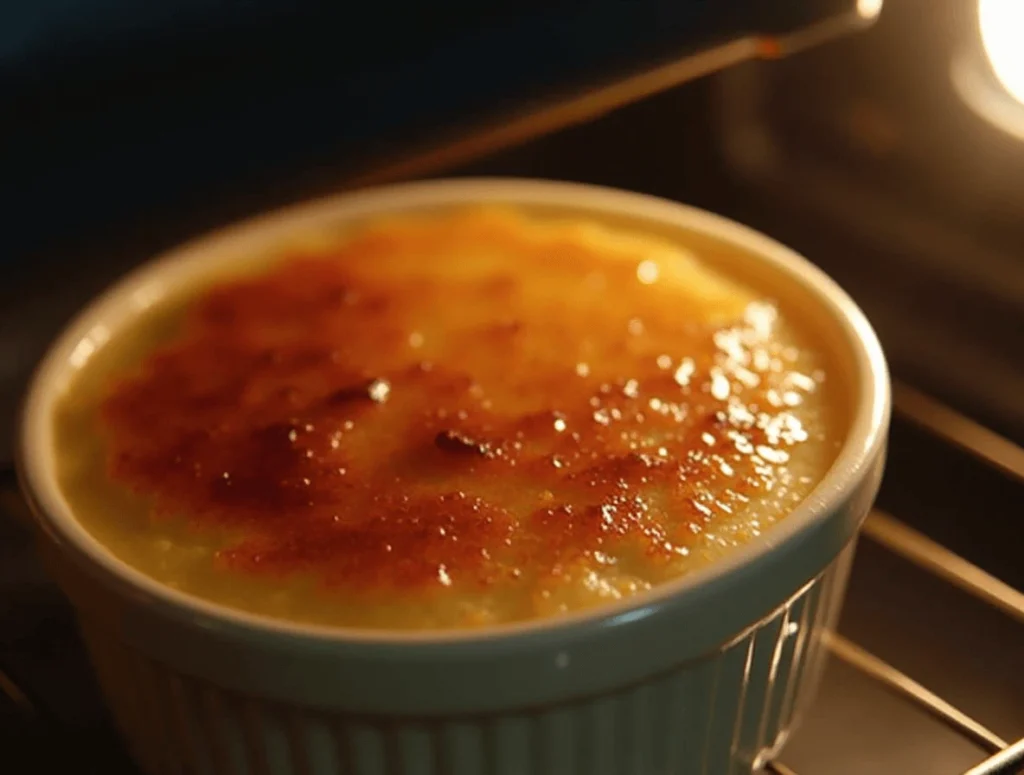
If you don’t have a kitchen torch, you can use your oven’s broiler to achieve the same effect. Place the custards under the broiler on a middle rack, making sure they are about 3 to 4 inches from the heat source. Set the broiler to high and keep a close eye on the sugar as it begins to melt. Broiling is a faster method, so it’s important to watch the custard closely to prevent the sugar from burning. The caramelization should take 2 to 4 minutes, depending on your oven, so be ready to pull the custards out as soon as the sugar turns a golden brown.
Once the sugar has caramelized to perfection, allow the crème brûlée to cool for a minute or two before serving. The sugar will harden into a crispy, crackling crust that will provide a satisfying crunch as you dig into the creamy custard beneath.
The chilling and caramelizing process is what transforms your simple custard into a truly extraordinary dessert. With a beautiful contrast of textures, your crème brûlée will have the perfect combination of smooth and silky custard paired with the satisfying crunch of a perfectly caramelized sugar topping.
Tips for the Best Crème Brûlée Every Time
Use Fresh, High-Quality Ingredients for the Best Flavor
When making crème brûlée, the ingredients you choose can make all the difference in achieving the perfect flavor and texture. Start with fresh heavy cream, as it contributes to the rich and velvety texture that makes crème brûlée so indulgent. Opt for high-quality vanilla extract or, even better, vanilla beans for a more authentic taste. The natural vanilla flavor will elevate the dessert, giving it a depth that artificial extracts simply can’t match.
Similarly, always use fresh egg yolks to ensure the custard is smooth and creamy. Using fresh eggs helps prevent any unwanted flavors and gives the custard the right consistency. Lastly, select granulated sugar that is fine and pure to ensure an even caramelization on top, which is key to achieving that satisfying crack when you break through the sugar layer.
By investing in top-notch ingredients, you’ll ensure your crème brûlée tastes rich and flavorful, and looks just as stunning as the version you’d find in a high-end restaurant.
Strain the Custard Mixture to Avoid Lumps and Get a Silky Texture
When making crème brûlée, achieving a smooth, silky custard is key to its perfect texture. One essential step in this process is straining the custard mixture. After combining the egg yolks, cream, sugar, and vanilla, it’s important to pass the mixture through a fine mesh sieve or strainer. This helps remove any bits of cooked egg or other inconsistencies that may have formed during the mixing process.
Straining ensures that the custard remains completely smooth and free from any lumps, which can ruin the otherwise delicate texture. It’s a simple step that only takes a minute, but it can make a big difference in the final result. A perfectly strained custard will bake evenly and have that luxurious, velvety finish that crème brûlée is known for.
Taking the time to strain your mixture will also improve the consistency, allowing it to set perfectly in the ramekins. It’s a small but vital step that guarantees a professional-quality dessert every time.
Let It Chill Properly Before Caramelizing to Ensure a Perfect Consistency
Once your crème brûlée custard is baked, it’s essential to allow it to chill in the refrigerator for at least 2 hours. This step is crucial for achieving the right texture. Chilling helps the custard set, ensuring it becomes firm enough to support the delicate caramelized sugar layer on top. If you skip this step or don’t chill it long enough, the custard may be too soft, causing the sugar topping to sink into the custard rather than forming a crisp layer.
Additionally, letting the custard cool properly enhances its flavor. As it rests, the vanilla and other ingredients meld together, creating a more balanced and rich taste. Only after the custard is fully chilled should you move on to caramelizing the sugar, as this will guarantee a flawless crème brûlée with the ideal smoothness and consistency.
Common Mistakes to Avoid When Making Crème Brûlée
Skipping the Water Bath – Leads to Uneven Cooking
A water bath, or bain-marie, is crucial when making crème brûlée. This technique involves placing the ramekins with the custard mixture into a larger baking dish filled with hot water. The water surrounds the custard and creates a gentle, even heat that ensures the custard cooks slowly and uniformly.
Without a water bath, the heat from the oven would be too direct, potentially causing the custard to cook unevenly. The result could be an overcooked outer edge with a runny center, ruining the silky texture that makes crème brûlée so special. The water bath provides a buffer, allowing the custard to cook at a consistent temperature, resulting in a perfectly smooth and creamy dessert.
In short, don’t skip this step! It’s the key to achieving the flawless consistency that defines a perfect crème brûlée.
Overcooking the Custard – Results in a Curdled Texture
One of the most common mistakes when making crème brûlée is overcooking the custard. Since crème brûlée is essentially a custard, it requires careful temperature control during the cooking process. If the custard is cooked at too high a temperature or for too long, the egg yolks can begin to scramble, causing the custard to curdle and lose its smooth texture.
To avoid this, it’s important to cook the custard over low heat and constantly stir to ensure even cooking. Additionally, when mixing the egg yolks with the warm cream, do so slowly to temper the eggs and prevent them from cooking too quickly. The ideal custard should have a silky, smooth consistency that coats the back of a spoon. If it starts to thicken too much or appear lumpy, it’s a sign that it’s been overcooked.
By monitoring the temperature closely and taking your time, you can achieve the perfect custard every time, ensuring that your crème brûlée remains velvety and delicious.
Burning the Sugar Topping – Learn How to Caramelize It Properly Without Overdoing It
Caramelizing the sugar topping is the final step that gives crème brûlée its signature crisp, golden crust. However, getting it just right can be tricky. The key is to apply the heat evenly and avoid burning the sugar, which can result in a bitter taste.
To caramelize the sugar, you can use either a kitchen torch or an oven broiler. If you’re using a kitchen torch, hold it about 2 inches above the sugar and move it in small circles to ensure the sugar melts evenly. Keep a close eye on it, as it can go from perfectly golden to burnt in seconds.
If you’re using an oven broiler, set the ramekins on the top rack under the broiler for just a few minutes. Watch carefully as the sugar turns golden brown. Don’t leave it under the broiler for too long, as the sugar can quickly burn, creating an undesirable bitter flavor.
The goal is a perfectly caramelized, crunchy top that breaks easily with a spoon. By monitoring the process closely, you’ll achieve the ideal texture without overdoing it.
Conclusion
Making crème brûlée at home doesn’t have to be a complicated or intimidating process. With just five simple ingredients—heavy cream, egg yolks, sugar, vanilla, and salt—you can easily create a rich, velvety custard that forms the perfect base for the iconic caramelized topping. Whether you’re a beginner or an experienced cook, this straightforward recipe ensures you can craft a delicious, restaurant-quality dessert without any special skills or tools, apart from a kitchen torch or broiler to finish the dish.
Now that you have the recipe in your hands, why not give it a try? The process is not only fun but also incredibly rewarding when you hear that satisfying crack as you break through the sugar crust. Don’t forget to share your experience and the results with your friends and family! Whether you’re preparing this dessert for a special occasion or just because, it’s sure to impress anyone lucky enough to enjoy it.
For those who want to add a unique twist to their crème brûlée, there are endless possibilities for flavor variations. You can easily infuse different flavors like chocolate, matcha, or citrus to create personalized versions of this classic dessert. Experimenting with flavors is a great way to make this recipe your own, and you might just discover a new favorite! So go ahead—get creative and indulge in this timeless treat, perfect for any occasion.
Source Links
Serious Eats – Crème Brûlée Guide:
Offers a detailed step-by-step guide to making crème brûlée, including tips for getting the perfect caramelized sugar.
https://www.seriouseats.com/
Bon Appétit – Crème Brûlée Recipe:
Another trusted culinary site with expert tips for making crème brûlée.
https://www.bonappetit.com/
America’s Test Kitchen – Crème Brûlée:
America’s Test Kitchen is known for testing recipes to perfection. Their crème brûlée recipe includes helpful tips on baking and flavoring.
https://www.americastestkitchen.com/
The Kitchn – How to Make Crème Brûlée:
Offers both a detailed recipe and a discussion of the ingredients, methods, and equipment you need.
https://www.thekitchn.com/
BBC Good Food – Crème Brûlée Recipe:
A popular source for a wide range of dessert recipes, including crème brûlée.
https://www.bbcgoodfood.com/

