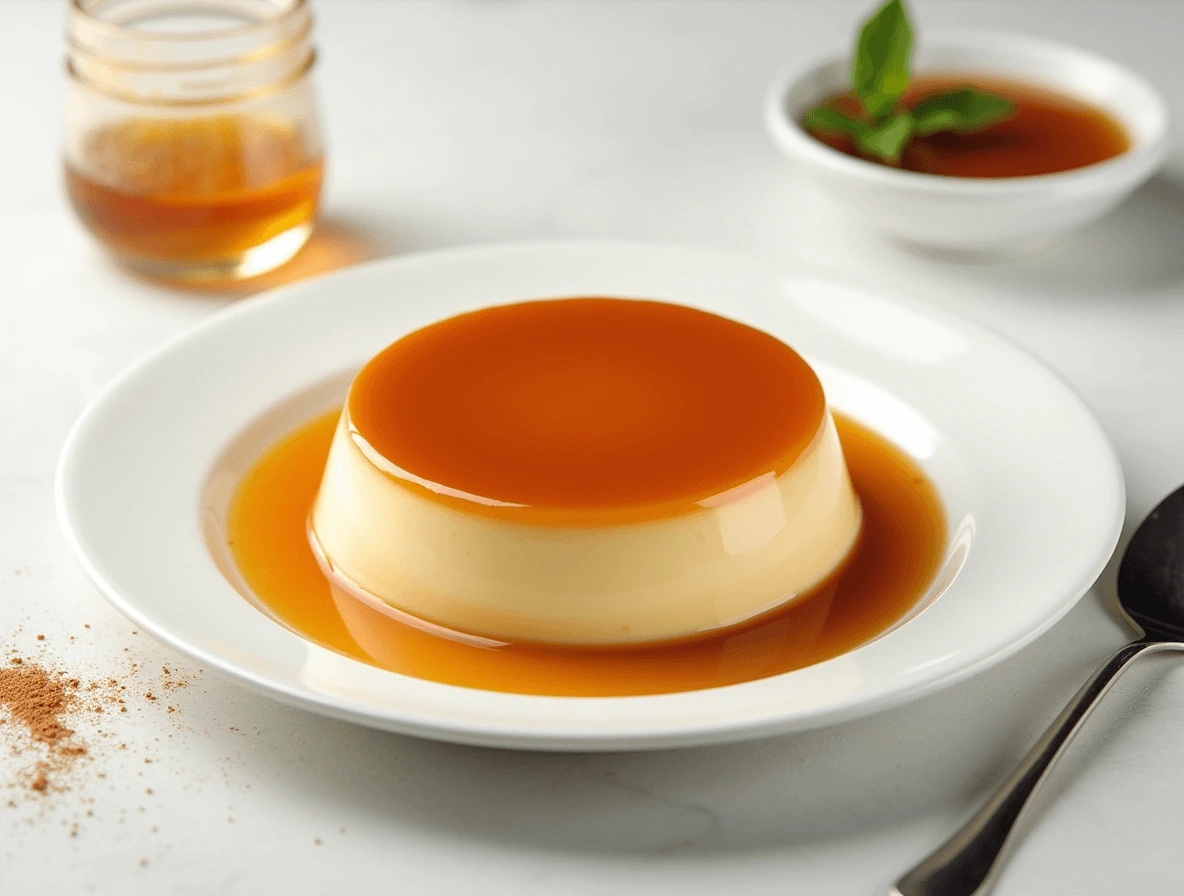
Flan is a classic custard dessert known for its silky-smooth texture and rich caramel topping. This delicious treat, popular in Spanish and Latin American cuisine, has a perfect balance of sweetness and creaminess, making it a favorite for special occasions and everyday indulgence. Despite its elegant appearance, flan is surprisingly easy to make at home with just a few simple ingredients.
This easy flan recipe uses eggs, sweetened condensed milk, evaporated milk, and vanilla extract to create a perfectly rich and creamy custard. The dessert is baked in a bain-marie (water bath) to ensure a smooth consistency, then chilled before being flipped onto a plate, revealing the beautiful golden caramel layer on top.
Whether you’re new to making flan or looking for a fail-proof recipe, this guide will walk you through each step to achieve the perfect texture and flavor. With a little patience and the right technique, you’ll be able to create a homemade flan that rivals any restaurant version. Keep reading to discover how to make this silky smooth treat at home!
Table of Contents
What Is Flan? A Classic Caramel Custard Dessert
History of Flan: A Timeless Custard Dessert from Spain and Mexico
Flan has a long and fascinating history that dates back to ancient times. The origins of this beloved custard dessert can be traced to the Roman Empire, where early versions of flan were made using eggs, milk, and honey. The Romans, known for their innovative cooking techniques, discovered that eggs could create a firm yet creamy texture when baked, leading to the creation of early custards. These primitive versions of flan were often flavored with sweeteners like honey and sometimes even savory ingredients.
As the Roman Empire expanded, so did its culinary traditions. When the Moors conquered Spain in the 8th century, they introduced new ingredients such as citrus, almonds, and caramelized sugar. Over time, the Spanish refined the flan recipe, transforming it into the sweet, caramel-topped custard that we recognize today. The Spanish version of flan became incredibly popular, especially because it was easy to prepare and could be made with simple, readily available ingredients.
When Spanish explorers and colonists traveled to the Americas, they brought their recipes with them, including flan. In Mexico and Latin America, flan quickly became a staple dessert, adapting to local flavors and ingredients. Traditional Mexican flan, for example, often includes sweetened condensed milk for extra richness and a touch of vanilla or cinnamon for added depth of flavor. Over the centuries, each region developed its own variations, from coconut flan in the Caribbean to coffee-infused flan in South America.
Today, flan is enjoyed worldwide and remains a symbol of comfort and tradition in Spanish and Latin American cuisine. Whether served at family gatherings, holiday celebrations, or as a simple weeknight dessert, flan continues to be cherished for its smooth, creamy texture and irresistible caramelized topping.
Different Types of Flan
Flan is a versatile dessert with many delicious variations across different cultures. While the classic flan features a simple custard base with a caramelized sugar topping, other versions incorporate unique ingredients and flavors to create exciting twists on this traditional treat. Here are some of the most popular flan variations you can try:
Mexican Flan
Mexican flan, also known as flan Mexicano or flan napolitano, is one of the most well-loved versions of this dessert. It is extra creamy because it often includes cream cheese or whole milk in addition to sweetened condensed milk and evaporated milk. The result is a rich, velvety custard with a slightly firmer texture. This flan is typically flavored with vanilla extract and served with a deep amber caramel sauce.
Vanilla Flan
Vanilla flan is the most traditional and widely recognized version of flan. It has a smooth, melt-in-your-mouth texture with a delicate vanilla flavor that enhances the sweetness of the caramel topping. Many recipes use pure vanilla extract or vanilla bean paste for a more intense aroma. This version is perfect for those who enjoy a classic and simple flan without additional flavors.
Coconut Flan
Coconut flan, or flan de coco, is a tropical twist on the traditional flan. This variation includes coconut milk or shredded coconut, giving it a light, fragrant, and slightly chewy texture. It is especially popular in Caribbean and Latin American countries, where coconut is a common ingredient in desserts. Some recipes combine coconut with sweetened condensed milk for an even richer taste, while others include toasted coconut flakes for added texture.
Other Popular Flan Variations
Beyond these three classic types, there are countless other flan variations to explore. Chocolate flan incorporates cocoa or melted chocolate for a decadent treat, while coffee flan infuses espresso for a bold, slightly bitter contrast to the sweet caramel. Some recipes even use fruit purees like mango or pumpkin to add a seasonal twist to this beloved dessert.
No matter which type of flan you choose, each variation offers a unique flavor experience while maintaining the signature smooth and creamy texture that makes this dessert so irresistible. Would you like to try a new flan variation, or do you prefer to stick to the classic version? 😊
Ingredients Needed for a Creamy Homemade Flan
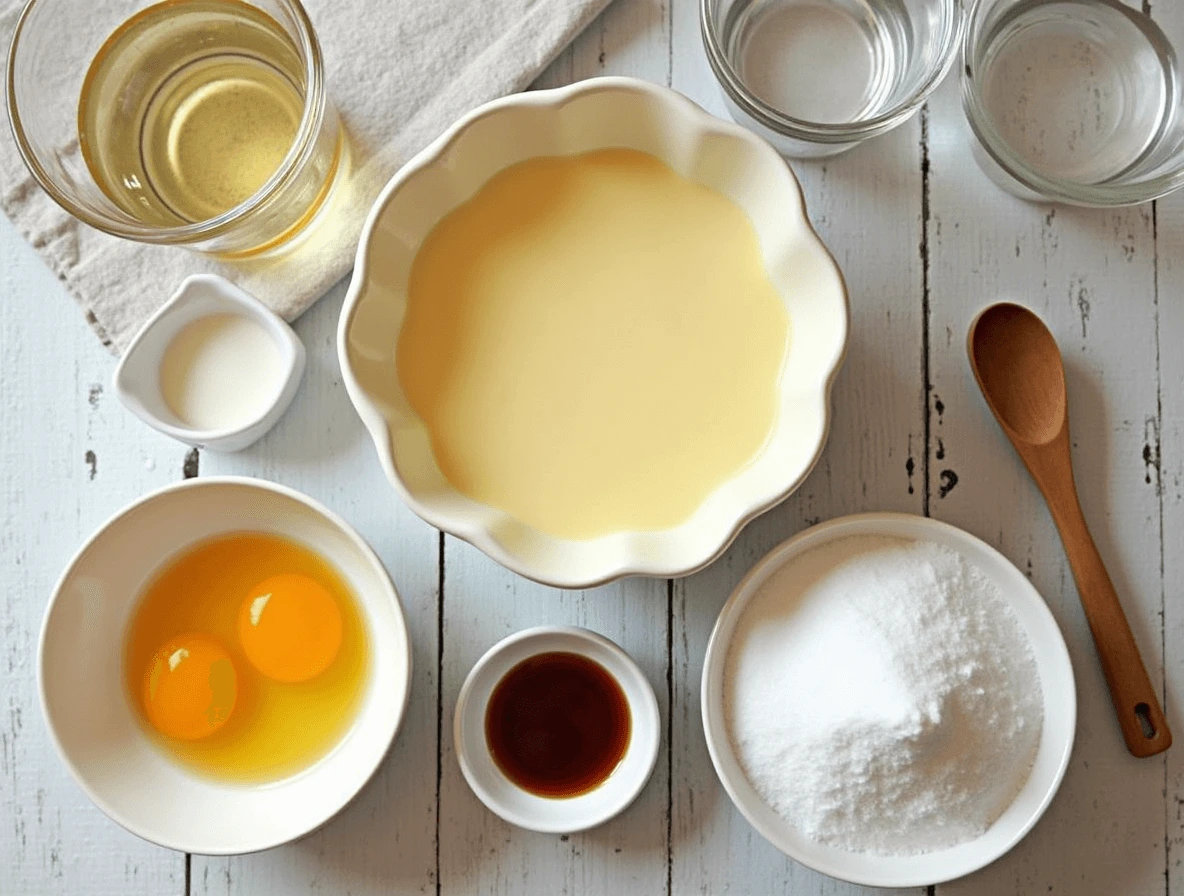
Essential Ingredients for Flan
Flan requires just a few basic ingredients to create its signature creamy texture and rich caramel topping. Below is a breakdown of each essential ingredient, along with its purpose and recommended quantity for a standard 6-serving flan recipe.
| Ingredient | Quantity | Purpose |
|---|---|---|
| Eggs | 4 large eggs | Provide structure and create a smooth, custard-like texture. |
| Sweetened Condensed Milk | 1 can (14 oz / 397g) | Adds richness and natural sweetness, making the flan creamy. |
| Evaporated Milk | 1 can (12 oz / 354ml) | Enhances the custard’s creaminess without making it too heavy. |
| Granulated Sugar | 1 cup (200g) | Used to create the caramel sauce that gives flan its signature golden topping. |
| Water | ¼ cup (60ml) | Helps dissolve sugar and caramelize evenly. |
| Vanilla Extract | 1 teaspoon | Enhances the flavor with a warm, fragrant aroma. |
Ingredient Breakdown
- Eggs: The foundation of any flan recipe, eggs are responsible for binding the ingredients together and forming the custard’s smooth texture. The egg yolks contribute to the richness, while the egg whites provide structure, helping the flan set properly.
- Sweetened Condensed Milk & Evaporated Milk: These two types of milk work together to create a creamy, silky consistency. Sweetened condensed milk adds a natural sweetness, eliminating the need for extra sugar in the custard. Evaporated milk keeps the flan light yet creamy, ensuring it doesn’t become too dense.
- Sugar & Water (for Caramel Sauce): The caramel sauce is a key part of flan, providing a deep, golden color and rich, slightly bitter sweetness that balances the custard. Melting sugar with water ensures an even caramelization, preventing burnt or crystallized sugar.
- Vanilla Extract: A small amount of vanilla extract enhances the flavor of the flan, adding a warm, aromatic depth that complements the custard’s sweetness.
Equipment Needed
Ramekins or a Baking Dish
To make flan, you’ll need either individual ramekins or a larger baking dish. Ramekins are small, heatproof dishes that help create perfectly portioned flans with a beautiful presentation. They also allow for even cooking, ensuring that each serving has the same creamy consistency.
If you don’t have ramekins, you can use a large baking dish or a flan mold (also known as a flanera). A single large flan is just as delicious and can be sliced into portions for serving. However, keep in mind that a larger flan may take longer to set compared to individual portions.
Water Bath (Bain-Marie) for Even Baking
A bain-marie, or water bath, is an essential technique for achieving a smooth, creamy flan. This method involves placing the ramekins or baking dish inside a larger pan filled with hot water before baking. The water creates gentle, even heat, preventing the custard from overcooking or developing cracks on the surface.
To set up a water bath, simply place your filled ramekins or flan mold inside a larger roasting pan, then carefully pour hot water into the pan until it reaches about halfway up the sides of the ramekins. This indirect heat allows the flan to cook slowly and evenly, resulting in a silky-smooth texture.
Using a bain-marie is a key step that shouldn’t be skipped, as it ensures the flan bakes properly without curdling or becoming rubbery. It might seem like an extra step, but it makes all the difference in achieving the perfect, restaurant-quality flan at home!
Step-by-Step Guide to Making the Best Flan Recipe
Step 1: Prepare the Caramel – Melt Sugar and Water to Create a Golden Caramel Layer
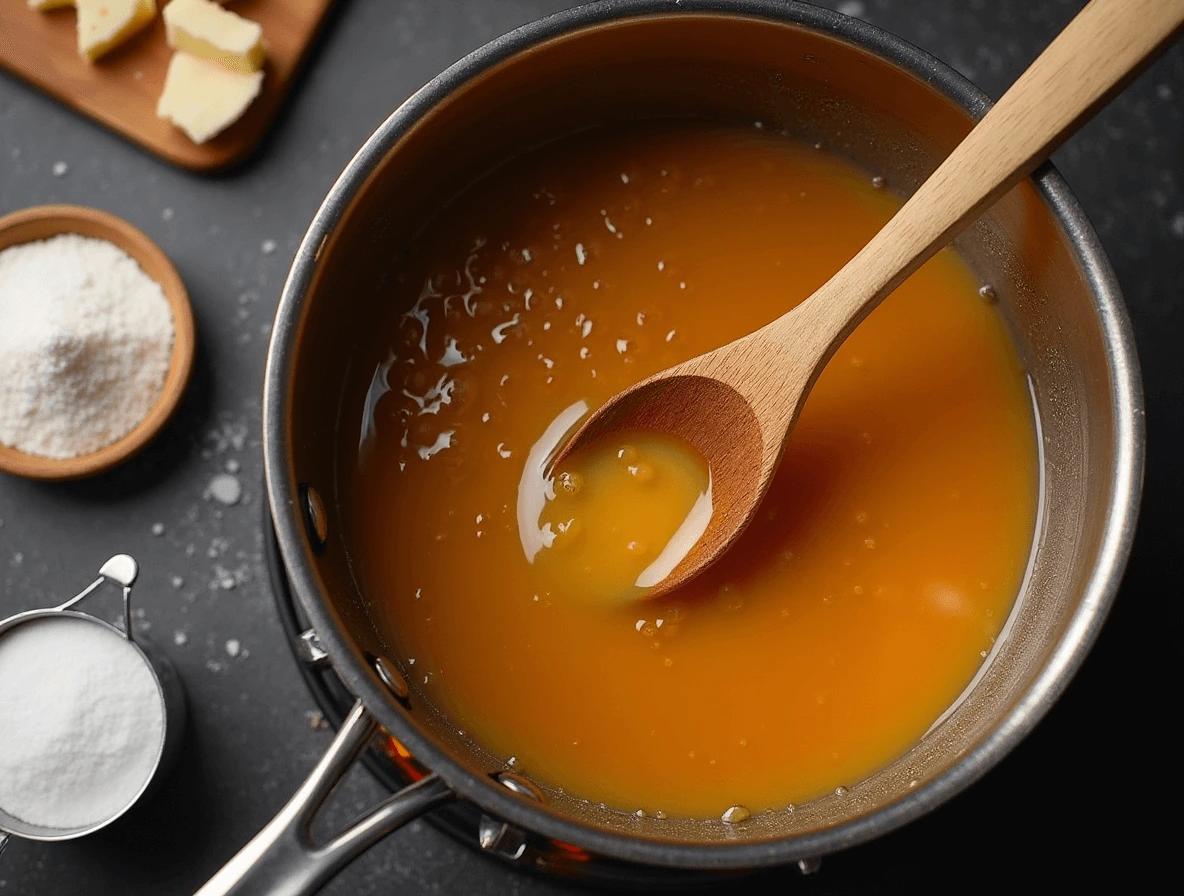
The caramel layer is the heart of a great flan, giving it its signature golden topping and rich, slightly bittersweet flavor. Making caramel may seem intimidating, but with the right technique, it’s simple and rewarding. The key is to heat sugar and water slowly until it transforms into a deep amber-colored syrup.
To start, take a small saucepan and add granulated sugar along with a few tablespoons of water. The water helps the sugar dissolve evenly and prevents it from crystallizing too quickly. Place the saucepan over medium heat, allowing the sugar to melt gradually. Avoid stirring the mixture with a spoon, as this can cause crystallization. Instead, gently swirl the pan occasionally to ensure even cooking.
As the sugar heats, it will begin to bubble and change color. First, it will turn light golden, then deepen into a rich amber shade. This process usually takes about 5 to 7 minutes, but it’s crucial to watch closely—caramel can go from perfect to burnt in seconds. Once the caramel reaches a deep golden-brown hue and has a smooth, flowing consistency, remove it from the heat immediately.
Carefully pour the hot caramel into the bottom of your ramekins or baking dish, tilting the dish slightly to ensure the caramel evenly coats the surface. Be cautious—caramel is extremely hot and can cause burns if handled improperly. Once poured, let it sit for a few minutes to cool and harden before adding the flan mixture.
This homemade caramel layer not only adds incredible flavor but also creates a beautiful glossy finish when the flan is flipped out of its mold. With this step done correctly, your flan will have the perfect caramelized topping that oozes elegantly over the custard when served.
Step 2: Make the Custard Mixture – Whisk Eggs, Vanilla Extract, and Milk Until Smooth
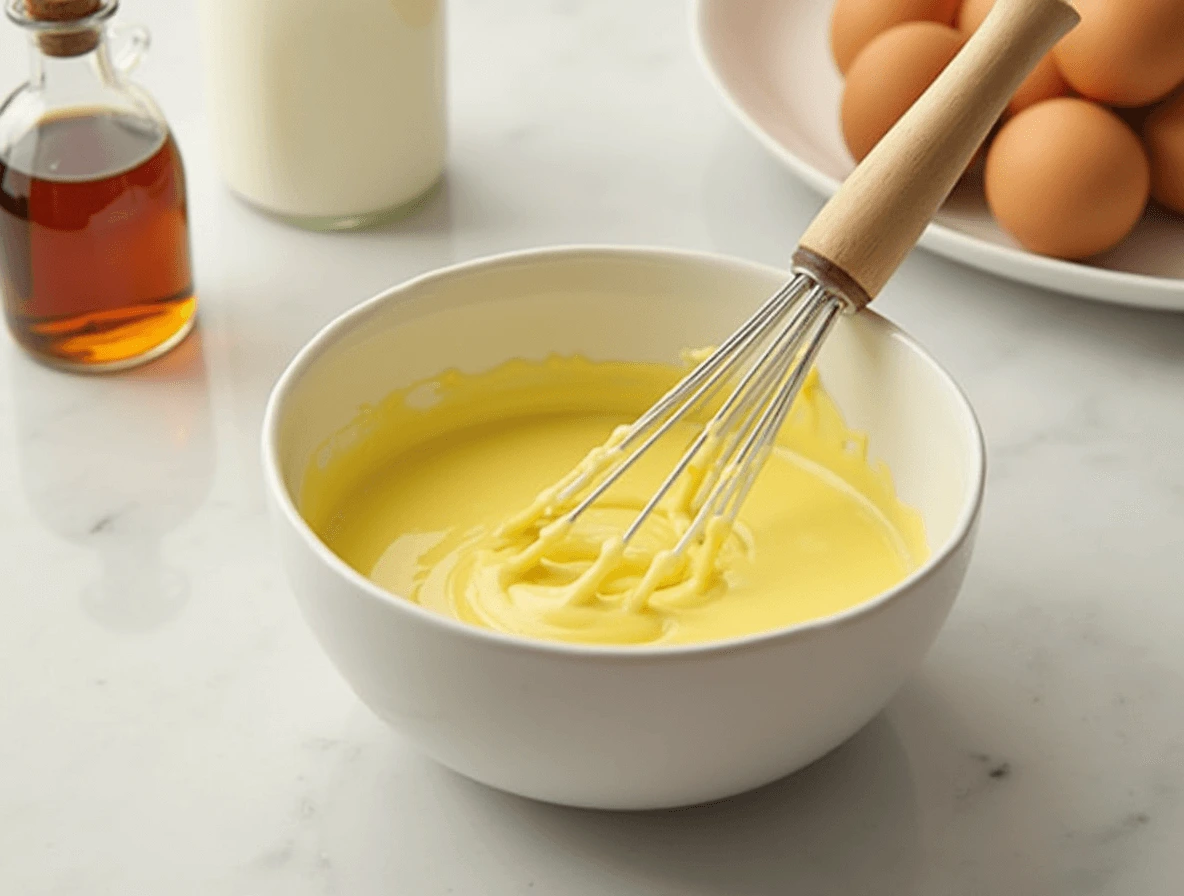
The custard is the heart of a perfect flan recipe, giving it that signature silky texture and rich flavor. This step is crucial in ensuring a smooth, creamy consistency without lumps or bubbles. By carefully whisking the ingredients together, you create a balanced mixture that will set beautifully when baked.
Choose High-Quality Ingredients for the Best Flavor
For the creamiest and most flavorful flan, use fresh, high-quality eggs. The egg yolks provide richness, while the egg whites help the custard set properly. A combination of sweetened condensed milk, evaporated milk, and vanilla extract adds sweetness, creaminess, and a hint of warmth to the flan. If you prefer a more intense vanilla flavor, consider using pure vanilla bean paste or vanilla pods instead of extract.
How to Properly Whisk the Custard Mixture
Start by cracking the eggs into a mixing bowl and gently whisking them until fully combined. Avoid beating too aggressively, as this can introduce air bubbles, which may lead to an uneven texture in the final flan. Once the eggs are well blended, slowly add the sweetened condensed milk and evaporated milk, whisking continuously to incorporate them evenly. Finally, stir in the vanilla extract to enhance the custard’s aroma and depth of flavor.
Strain for a Silky-Smooth Texture
For an ultra-smooth custard, it’s a good idea to strain the mixture through a fine-mesh sieve before pouring it into the baking dish or ramekins. This step helps remove any bits of egg that may not have fully incorporated, ensuring a flawless, creamy consistency. If you want to elevate your flan further, you can let the mixture rest for a few minutes to allow any remaining air bubbles to rise to the surface and disappear.
By following these steps, you’ll create a rich, velvety custard base that will set perfectly when baked, resulting in a deliciously smooth flan with a luxurious texture.
Step 3: Bake with a Water Bath – Pour the Mixture into Ramekins, Then Bake in a Bain-Marie for Perfect Texture
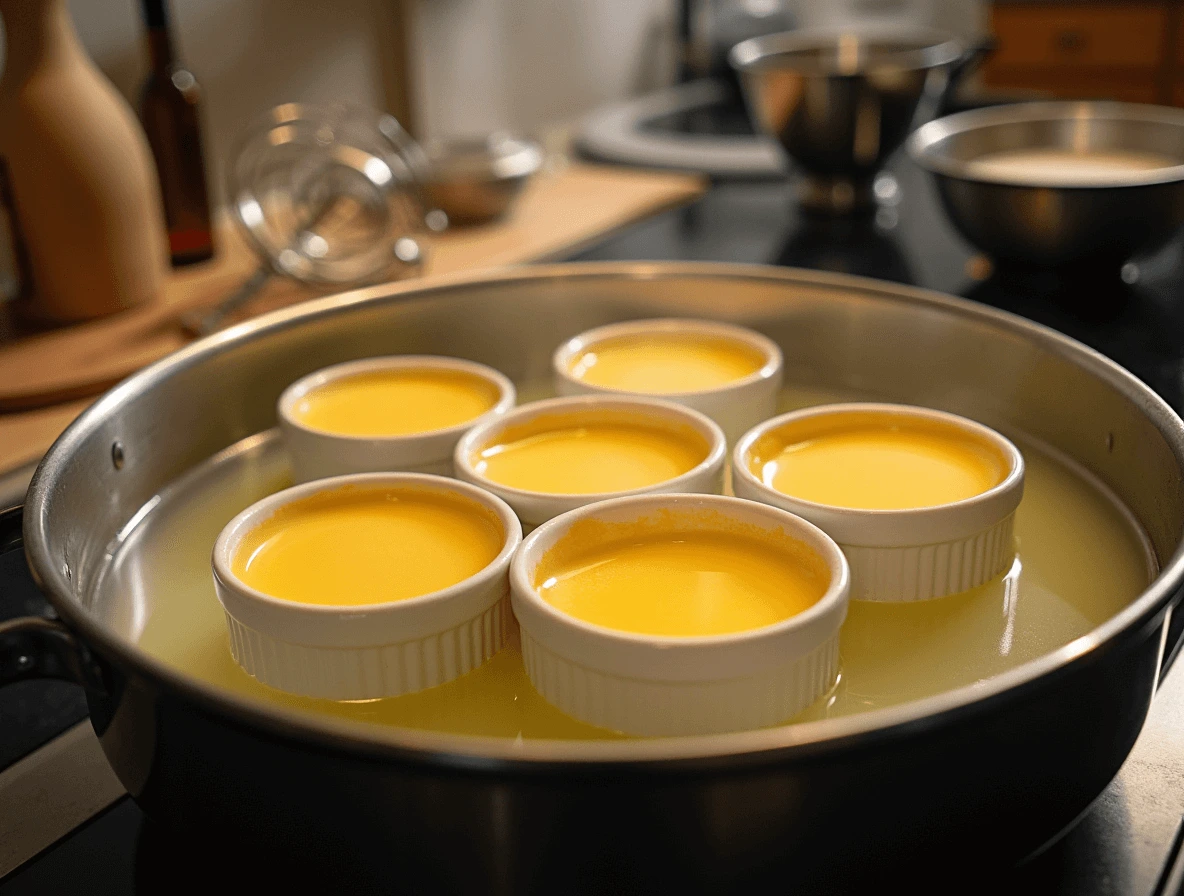
Baking flan in a water bath, or bain-marie, is a crucial step that ensures the custard bakes evenly and achieves a smooth, creamy texture without cracking. The water bath helps maintain a gentle and consistent heat around the custard, preventing it from overcooking or curdling. This method is often used for delicate desserts like cheesecake or flan because it allows the custard to set slowly and evenly.
Start by pouring the prepared flan mixture into ramekins or a shallow baking dish. Be sure to fill them about 3/4 full to leave space for the custard to rise slightly during baking. Once the flan is ready, carefully place the ramekins into a larger baking pan or dish that can hold them comfortably. The next step is to add hot water to the outer pan, filling it about halfway up the sides of the ramekins. This creates the water bath that surrounds the flan and helps regulate the baking temperature.
Preheat your oven to 350°F (175°C) and carefully place the water bath in the oven, ensuring that the water doesn’t splash into the ramekins. The flan should bake for about 45 to 50 minutes, but keep a close eye on it. The flan is done when the edges are set but the center still has a slight wobble. You can test it by gently shaking the pan or inserting a toothpick—if it comes out clean, your flan is ready.
The water bath is key to achieving the smooth, velvety texture that makes flan so irresistible. Without it, the flan may cook too quickly on the edges, resulting in an uneven texture or cracks. Once it’s done baking, remove the flan from the water bath and allow it to cool to room temperature before chilling it in the fridge. This extra cooling time ensures the flan will set properly and allows the caramel to soak into the custard, adding that extra burst of sweetness.
By using the water bath method, you’re ensuring that your homemade flan will have the perfect texture: creamy, silky, and utterly indulgent.
Step 4: Chill and Serve – Refrigerate for a Few Hours Before Flipping to Reveal the Caramel Topping
Once your flan has finished baking and the custard has set, it’s time for the crucial step of chilling. This is when the magic happens. The custard needs to cool and firm up completely, which is why you’ll want to let it refrigerate for at least 4 hours, though overnight is even better. The chill time allows the flavors to meld together, creating that perfectly creamy, melt-in-your-mouth texture that makes flan so irresistible.
During the chilling process, the caramel topping also sets, allowing it to form a deliciously sticky layer that will come to life when you flip the flan. Be sure to cover the ramekins or baking dish with plastic wrap or a lid to prevent any odors from the fridge affecting the delicate flavor of your flan. If you’re using a larger baking dish, make sure the surface is flat so the caramel evenly coats the custard when you flip it.
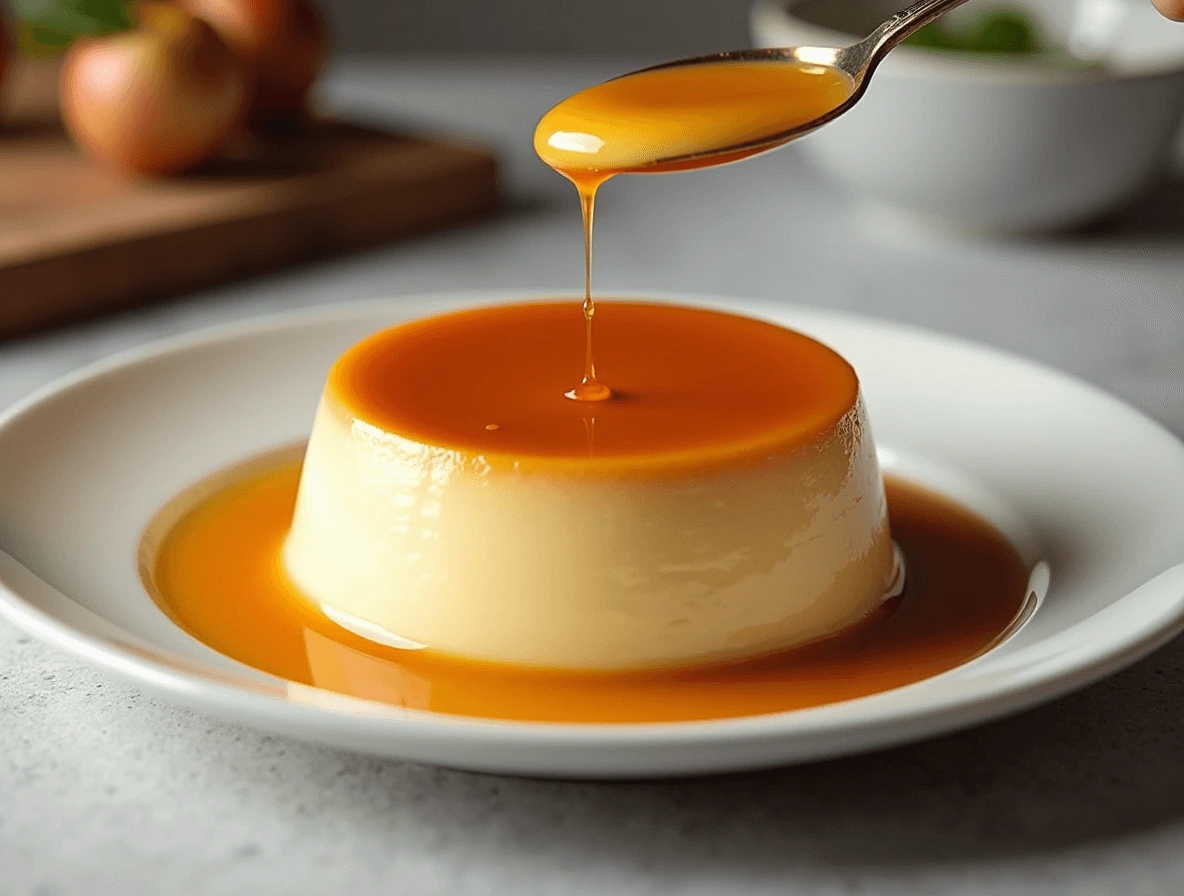
After the flan has chilled, it’s time to serve! Before inverting, run a butter knife or offset spatula around the edges of the flan to loosen it from the sides of the dish. This will help it come out smoothly without breaking apart. Gently place a plate or serving dish on top of the ramekin, and carefully flip it over. With a little patience and a steady hand, you’ll be rewarded with a stunning flan that boasts a glossy, golden caramel top.
Once flipped, you may notice some caramel syrup pooling around the edges, which is perfectly normal. This syrup is a sweet bonus and can be poured back over the flan before serving for added flavor. Now, your flan is ready to be served and enjoyed—whether you keep it simple or garnish it with a touch of whipped cream or fresh fruit, this dessert is sure to impress!
Tips for Perfect Flan Every Time
Avoid Overcooking – Bake until the center is just set but still jiggles slightly
When making flan, one of the most important factors to ensure a perfect texture is not overcooking it. Flan is essentially a custard, and just like any custard, it can easily turn rubbery or grainy if it’s baked for too long. The goal is to create a smooth, creamy consistency, where the custard is firm enough to hold its shape but still delicate and soft.
To achieve this, you should pay close attention to the baking time and the flan’s appearance as it cooks. Flan is typically baked at a low temperature, around 325°F (163°C), and it requires a water bath to ensure even heat distribution. This method helps maintain the gentle cooking temperature that flan needs to set without drying out.
As the flan bakes, it will start to firm up around the edges, but the center will remain slightly wobbly. The key to perfect flan is to bake it until the edges are set, but when you gently jiggle the pan, the center should still have a bit of a soft, wobbly texture. If the flan is too firm, it means it has been overbaked, and you’ll lose the smooth, melt-in-your-mouth quality that makes flan so special.
A good way to test whether your flan is done is to insert a knife or a toothpick into the center. It should come out clean, but with a small amount of the custard clinging to it. This means the custard is set, but it still retains its creamy, velvety texture. If the knife comes out with liquid custard, it needs more time.
Once you’ve achieved the perfect doneness, remove the flan from the oven and allow it to cool. Don’t rush the cooling process, as it will continue to firm up slightly as it cools. Let the flan sit at room temperature before transferring it to the refrigerator, where it should chill for a few hours to develop its flavor and texture fully.
By paying attention to the baking time and avoiding overcooking, you’ll end up with a flan that’s creamy, delicate, and just the right consistency.
Use a Water Bath – Ensures an Even, Silky Custard Texture Without Cracks
One of the most important steps in making the perfect flan is using a water bath (also known as a bain-marie). This method involves placing your ramekins or baking dish with the flan mixture into a larger pan filled with hot water. The water bath helps maintain a gentle, even heat during the baking process, ensuring that the flan cooks evenly without becoming overcooked or cracked.
Without a water bath, the direct heat from the oven can cause the custard to cook too quickly, leading to a rubbery texture or unsightly cracks on the surface. The gentle heat of the water bath allows the eggs and milk to set slowly, giving the flan its characteristic creamy consistency. This is crucial for achieving the smooth, velvety texture that makes flan so irresistible.
To properly prepare a water bath, simply place your ramekins with the flan mixture into a large, deep baking dish. Then, pour hot water around the ramekins, making sure the water reaches about halfway up the sides of the ramekins. Be careful not to splash water into the flan mixture itself. The hot water helps to regulate the temperature inside the ramekins, preventing the custard from overheating or curdling.
Baking the flan in a water bath also helps to maintain a consistent temperature, which is key to ensuring that the flan sets properly. Without the water bath, the edges of the custard could cook too quickly, while the center remains undercooked. The water bath provides a more controlled environment for even cooking, resulting in a flawless, silky smooth dessert.
By using a water bath, you’ll be able to achieve a beautifully flawless flan every time. The gentle, indirect heat prevents cracks from forming on the surface of the custard, allowing you to serve your flan with a perfectly smooth finish. Whether you’re making flan for a special occasion or as a simple homemade treat, the water bath is the secret to a picture-perfect dessert.
Chill Before Serving – Refrigerate for at Least 4 Hours for the Best Consistency
After your flan has been baked to perfection, it’s important to allow it to cool and set properly. One of the most crucial steps in making flan is the chilling process. Refrigerating your flan for at least 4 hours, or ideally overnight, allows the custard to firm up, ensuring a smooth and silky texture. Without this chilling period, the flan may not hold its shape when flipped and served, leading to a runnier consistency that doesn’t showcase the creamy custard properly.
During the chilling process, the caramel topping also solidifies and becomes more flavorful. As the dessert cools, the caramel soaks into the custard just a bit, enhancing the overall taste. This step helps the flan develop its signature velvety texture, as the cooling time allows the custard to fully set and achieve the right balance of firmness and creaminess.
For the best results, make sure to cover your flan with plastic wrap or a lid while it chills in the fridge. This prevents the top from drying out or absorbing any odors from the fridge. If you’re in a hurry, though, even an hour or two of chilling can make a difference, but the full 4-hour wait will give you the perfect result.
When it’s time to serve, you’ll notice that the flan will easily slide out of the ramekin or baking dish, with the caramel flowing beautifully over the custard. This makes for a perfect presentation and a dessert that is as pleasing to the eye as it is to the palate. So, while waiting might be the hardest part, it’s well worth the patience for that divinely smooth and rich flan experience!
Conclusion
Making flan at home is incredibly easy, and the results are absolutely delicious! With just a handful of ingredients like eggs, sweetened condensed milk, and vanilla extract, you can create a dessert that’s both creamy and decadent. The process is simple, and with the right techniques—like using a water bath to bake the custard—anyone can master this flan recipe. The silky-smooth texture and rich caramel topping make it a showstopper, whether you’re serving it for a special occasion or just as a sweet treat after dinner.
We hope this recipe inspires you to try making flan in your own kitchen. Don’t be afraid to get creative! You can easily experiment with different variations, such as adding coconut for a tropical twist or chocolate for a rich, indulgent flavor. The beauty of flan is that it’s so versatile, and you can make it your own with just a few simple tweaks.
If you try this easy flan recipe, we’d love to hear about it! Share your results and any variations you tried in the comments below. Did you add a special twist or make it your own in a fun way? Your feedback helps others and can spark new ideas for fellow dessert lovers. Happy baking, and we look forward to hearing about your flan-making adventures!
Source Links
History of Flan:
Flan Recipe Variations:
Bain-Marie Technique (Water Bath):
Caramelizing Sugar:

