If you love buttery, flaky pastries, then this Gipfeli recipe is a must-try! Gipfeli, often called the Swiss croissant, is a delicious crescent-shaped pastry that’s lighter and less buttery than its French counterpart. It’s a breakfast staple in Switzerland, enjoyed plain or filled with sweet or savory ingredients like chocolate, jam, or cheese.
Making homemade Gipfeli may seem intimidating, but with the right techniques, you can achieve bakery-quality results right in your kitchen. The secret lies in mastering the dough, shaping, and baking to create that perfect balance of crispiness and fluffiness.
In this guide, I’ll share three key secrets to making the best Gipfeli at home. Whether you’re a beginner or an experienced baker, these tips will help you bake golden, flaky pastries that will impress your family and friends. Let’s get started!
Table of Contents
What Is Gipfeli? A Quick Look at This Swiss Pastry
Difference Between Gipfeli and French Croissants
At first glance, Gipfeli and French croissants look quite similar, as both have a classic crescent shape and a golden, flaky crust. However, there are key differences in texture, ingredients, and preparation that set them apart.
One of the biggest differences is in the butter content. French croissants are made with a laminated dough, which involves folding butter multiple times into the dough to create distinct, airy layers. This gives them a rich, buttery taste and a very flaky texture. In contrast, Gipfeli contain less butter, resulting in a slightly denser and drier pastry compared to the ultra-light croissant.
Another distinction is in the dough composition. Traditional Gipfeli dough is often made with milk, making it softer and less crispy than the classic French croissant. Some versions even include a small amount of sugar, which gives Gipfeli a hint of sweetness, while French croissants typically rely only on the butter for flavor.
Lastly, the baking technique differs slightly. Gipfeli are usually less layered and have a more structured shape, while croissants are more delicate and flaky due to their intricate layering process. This makes Gipfeli sturdier and easier to handle, making them a great choice for filling with sweet or savory ingredients.
Despite these differences, both pastries are absolutely delicious in their own way. Whether you prefer the rich flakiness of a French croissant or the light, slightly sweet taste of Gipfeli, both are perfect for a delightful breakfast or snack!
Why Gipfeli Is a Staple in Swiss Cuisine
Gipfeli is more than just a pastry in Switzerland—it’s a beloved breakfast tradition. Whether paired with a cup of coffee or served with butter and jam, this flaky crescent roll is a morning favorite in Swiss households, bakeries, and cafés. Unlike the richer French croissant, Gipfeli has a slightly firmer texture and a more subtle buttery flavor, making it a versatile choice for both sweet and savory fillings.
Beyond breakfast, Gipfeli is a common grab-and-go snack throughout the day. Swiss bakeries offer a variety of Gipfeli options, from classic plain versions to ones filled with chocolate, vanilla custard, or cheese. It’s also a popular item in Swiss train stations and supermarkets, where busy commuters can pick up a freshly baked Gipfeli on the go.
Its cultural significance extends beyond convenience—Gipfeli represents Swiss craftsmanship in baking. Many traditional recipes have been passed down through generations, with bakers taking pride in achieving the perfect balance of flakiness and softness. Whether homemade or store-bought, Gipfeli remains a symbol of comfort and quality in Swiss cuisine.
Common Variations (Sweet vs. Savory Fillings)
One of the best things about Gipfeli is its versatility. While traditional plain Gipfeli is a favorite in Switzerland, many people enjoy adding delicious sweet or savory fillings to enhance the flavor. Whether you prefer a treat with a touch of sweetness or a more satisfying, hearty option, there’s a Gipfeli variation for every taste.
Sweet Fillings
Sweet-filled Gipfeli are perfect for breakfast, brunch, or a light dessert. A popular choice is chocolate, where a small piece of chocolate or a spread like Nutella is added before rolling the dough. Fruit jams, such as apricot, raspberry, or strawberry, provide a burst of natural sweetness and pair beautifully with the flaky texture of the pastry. For a nutty and indulgent option, almond paste or pistachio cream makes a great filling, adding a rich and creamy consistency.
Savory Fillings
For those who enjoy a more filling option, savory Gipfeli can be stuffed with cheese, spinach, or sautéed mushrooms. Swiss cheese like Gruyère or Emmental melts beautifully and gives the pastry a slightly nutty and rich flavor. Another delicious option is cream cheese with herbs, which adds a creamy and aromatic twist. For a Mediterranean-inspired variation, sun-dried tomatoes and feta cheese make a flavorful combination.
Whether you prefer a sweet or savory version, these delicious variations make Gipfeli a versatile pastry that can be enjoyed at any time of the day!
Ingredients You Need for the Perfect Gipfeli
Essential Ingredients for Gipfeli
| Ingredient | Quantity | Purpose |
|---|---|---|
| All-purpose flour | 500g (4 cups) | Provides structure and texture for the dough. |
| Active dry yeast | 7g (1 packet or 2 1/4 tsp) | Helps the dough rise and gives a light, airy texture. |
| Warm milk | 250ml (1 cup) | Activates the yeast and adds richness to the dough. |
| Unsalted butter | 120g (1/2 cup) (for dough) + 150g (2/3 cup) (for layering) | Adds flavor, richness, and creates flaky layers. |
| Granulated sugar | 50g (1/4 cup) | Feeds the yeast and adds a touch of sweetness. |
| Salt | 1 tsp | Enhances flavor and strengthens the dough. |
| Egg yolk | 1 (for egg wash) | Gives the Gipfeli a golden, shiny crust. |
| Water | 1 tbsp (for egg wash) | Helps thin the egg wash for an even glaze. |
The Role of Laminated Dough in Creating Flaky Layers
Laminated dough is the secret behind the flaky, airy texture of Gipfeli. This technique involves layering butter and dough through a process of rolling, folding, and chilling. Each fold creates multiple thin layers of butter and dough, which expand during baking, resulting in the classic light and crispy texture.
The key to successful lamination is using cold butter and ensuring it stays evenly distributed within the dough. When baked, the moisture in the butter turns to steam, lifting the dough and creating distinct, delicate layers. Proper lamination also prevents the pastry from becoming dense or greasy.
Mastering this process requires patience, but the result is worth it—a beautifully golden, flaky Gipfeli that rivals any bakery-made version!
Optional Ingredients for Fillings (Chocolate, Jam & Cheese)
While the classic Gipfeli is delicious on its own, adding fillings takes this Swiss pastry to the next level. Whether you’re craving something sweet or savory, there are endless possibilities to customize your Gipfeli to your taste.
Chocolate Fillings
For a rich and indulgent treat, chocolate is a popular filling. You can use dark chocolate, milk chocolate, or even Nutella to create a gooey, melty center. Simply spread or place a small piece of chocolate in the center of the dough before rolling it up. The result is a perfect balance of buttery pastry and chocolatey sweetness that’s irresistible.
Jam Fillings
If you prefer a fruity twist, jam is a fantastic option. Apricot, raspberry, or strawberry jams are commonly used, offering a sweet, tangy flavor that complements the flaky pastry. You can spread the jam on the dough before rolling it or place a dollop in the center for a burst of flavor with every bite.
Cheese Fillings
For a savory version, cheese is an excellent filling choice. Swiss cheese, like Gruyère or Emmental, adds a smooth, slightly nutty flavor that pairs beautifully with the flaky dough. You can also mix in some cream cheese, herbed cheese, or even ricotta for a creamy, rich filling. This savory twist makes Gipfeli perfect for breakfast or a light lunch.
These optional fillings give you the flexibility to enjoy Gipfeli in countless variations, from sweet to savory, making it the perfect pastry for any occasion!
3 Secrets to Making the Best Homemade Gipfeli
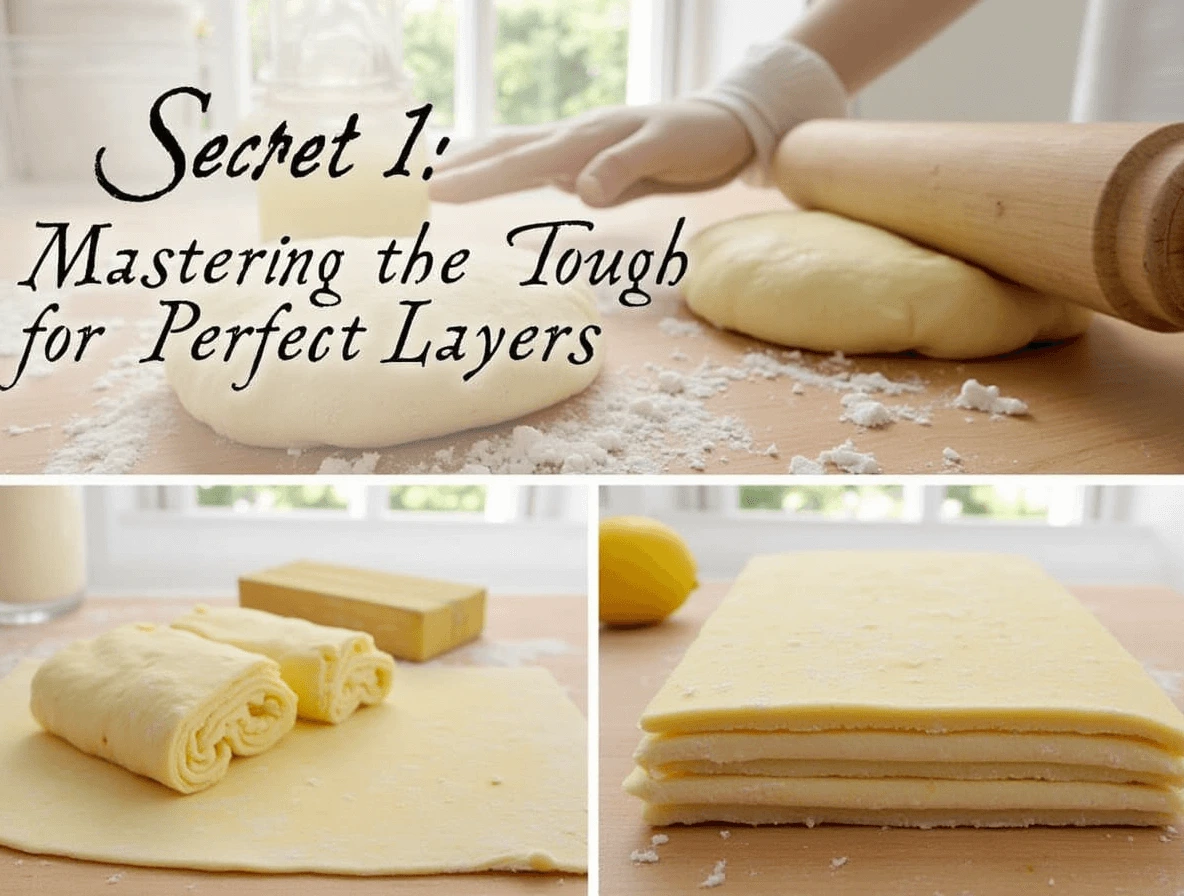
Secret 1: Mastering the Dough for Perfect Layers

How to Properly Knead and Proof Your Dough
The first step in creating perfect Gipfeli is properly kneading your dough. Start by mixing the flour, yeast, sugar, salt, and milk together until they form a dough. Knead the dough on a floured surface for about 5-8 minutes until it becomes smooth and elastic. Proper kneading ensures the dough develops enough gluten for the right texture. After kneading, let the dough proof by placing it in a lightly oiled bowl, covering it with a damp cloth. Allow it to rise for about 1 hour, or until it has doubled in size. This step is crucial for a light and airy pastry.
Importance of Using Cold Butter for Flaky Layers
One of the key secrets to flaky Gipfeli is using cold butter. The butter should be firm and chilled before you begin the laminating process. This ensures that when you roll the dough, the butter doesn’t melt immediately but stays in cold, solid layers. As the dough bakes, the butter melts and creates steam, which forms the layers that give Gipfeli its signature flakiness. Be sure to flatten the cold butter into a rectangle shape before folding it into the dough.
Best Techniques for Rolling Out the Dough Evenly
To achieve perfect layers, rolling out the dough evenly is key. Once the dough has rested and proofed, gently roll it out on a floured surface into a large rectangle. Take care to maintain an even thickness of about 1/4 inch throughout the dough. Use a rolling pin to create smooth, consistent rolls—avoid pressing too hard or stretching the dough. If the dough becomes too warm, pop it in the fridge for a few minutes to firm up before continuing. This technique ensures that you get consistent, uniform layers throughout your Gipfeli.
By mastering these steps—properly kneading, proofing, and rolling—you’ll set the foundation for flaky, buttery layers that make your Gipfeli irresistible.
Secret 2: The Right Way to Shape and Fold Your Gipfeli

Step-by-Step Guide to Cutting and Rolling the Perfect Crescent Shape
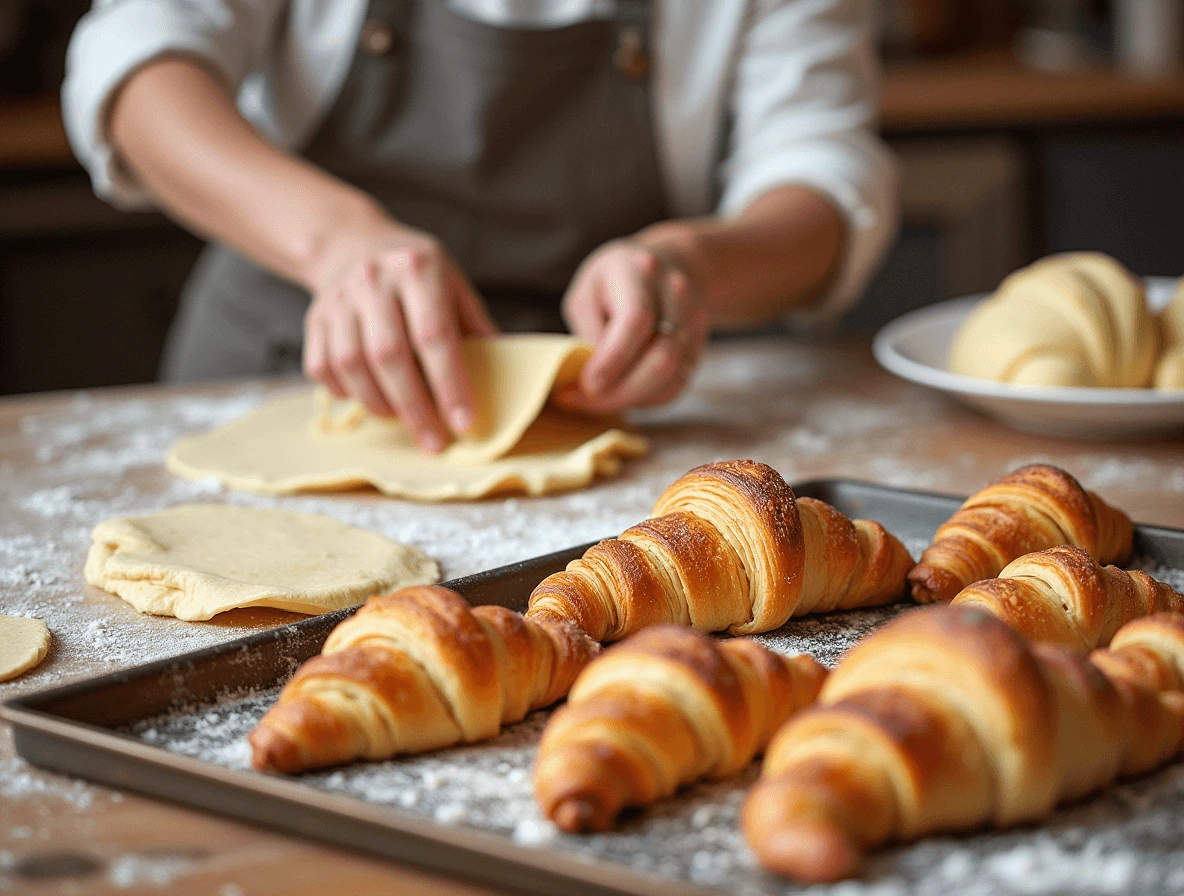
To shape your Gipfeli, start by rolling out your dough into a large rectangle about 1/4 inch thick. Once the dough is rolled out, use a sharp knife or pizza cutter to slice the dough into even triangles. The base of each triangle should be about 3-4 inches wide. Then, take the wider end of each triangle and gently roll it towards the pointed tip, forming a crescent shape. Be sure to roll them tightly but not too tight, as you want them to rise and puff up while baking.
Why Layering and Folding Is Crucial for Texture
The key to that flaky texture we love in Gipfeli is the laminated dough, which is achieved through folding and layering. After rolling out the dough and adding cold butter, you fold the dough several times to create layers. This process traps air and moisture between the layers of dough and butter, creating a delicate, light, and crispy texture once baked. If you skip this step or don’t fold the dough properly, the layers won’t develop, resulting in a denser pastry.
Common Mistakes and How to Avoid Them
A few mistakes can prevent your Gipfeli from turning out perfectly. One common mistake is not chilling the dough long enough between folds. This can cause the butter to melt into the dough, making the layers less distinct. Be sure to refrigerate your dough after each fold to maintain the proper texture. Another mistake is rolling the triangles too tightly or loosely. If rolled too tightly, the dough won’t puff up properly, and if rolled too loosely, the Gipfeli may unravel during baking. Aim for a firm but gentle roll to ensure the best rise.
By following these shaping and folding tips, you’ll create flaky, perfectly shaped Gipfeli every time!
Secret 3: Baking Tips for a Golden, Flaky Finish

Proper Oven Temperature and Baking Time
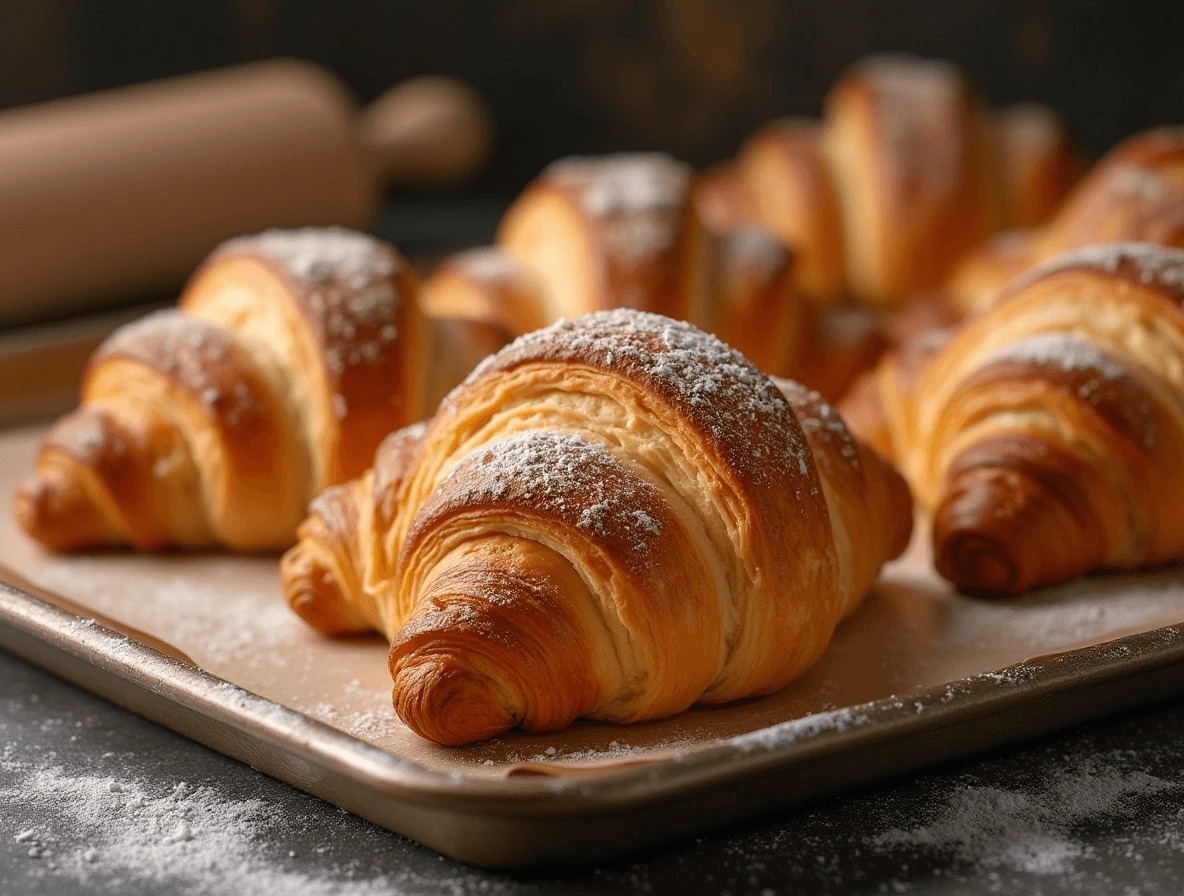
Achieving that perfect golden-brown Gipfeli starts with the right oven temperature. Preheat your oven to 375°F (190°C). This ensures the dough bakes evenly while developing a beautifully crisp exterior. Bake the Gipfeli for 15-20 minutes, or until the pastries are golden and flaky. Keep an eye on them during the last few minutes to avoid overbaking.
Using an Egg Wash for a Beautiful Golden-Brown Color
An egg wash is the secret to a perfect golden finish. Simply whisk 1 egg yolk with 1 tablespoon of water and brush it over the tops of your shaped Gipfeli before baking. This gives them a glossy, shiny appearance and helps lock in moisture, ensuring the pastry stays tender inside while developing a beautiful color outside.
How to Prevent Overbaking or Drying Out Your Gipfeli
To avoid dry Gipfeli, ensure that your dough is properly rested and proofed before baking. Overbaking is a common mistake, so keep track of time and check the color. If you’re concerned about them drying out, you can cover the pastries loosely with foil in the first 10 minutes of baking to preserve moisture, then uncover them to let the tops crisp up in the final minutes.
By following these simple tips, you’ll have golden, flaky Gipfeli every time!
Serving and Storing Your Homemade Gipfeli

Best Ways to Serve Gipfeli for Breakfast or Snacks
Gipfeli are incredibly versatile and can be served in many ways to make your breakfast or snack time special. Their flaky, buttery texture makes them a perfect pairing with a variety of beverages and sides.
Classic Breakfast Pairing
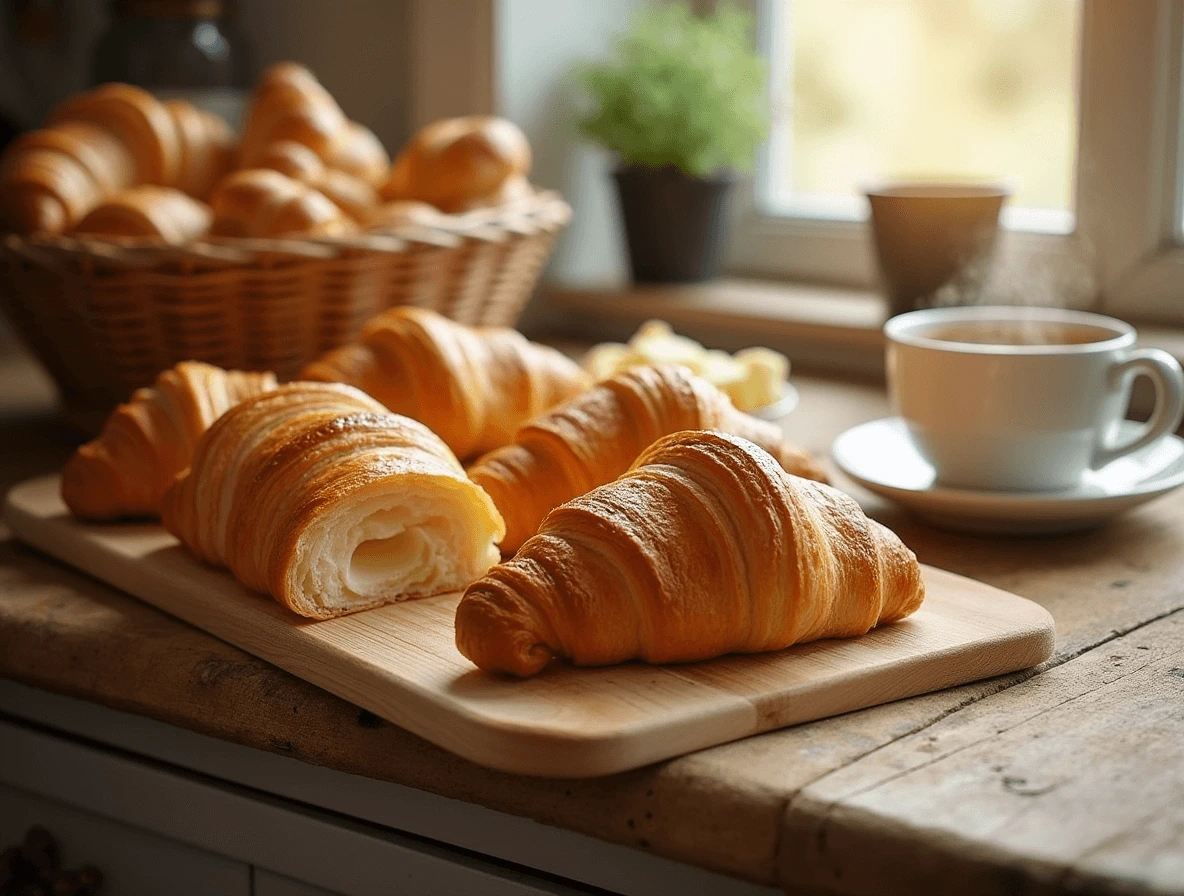
For a simple yet satisfying breakfast, serve your Gipfeli with a fresh fruit salad or a spread of jam. Classic flavors like strawberry, apricot, or even honey complement the pastry’s richness beautifully. Pair with a cup of coffee, tea, or hot chocolate for a comforting start to your day.
Savory Breakfast Option
If you’re in the mood for something heartier, fill your Gipfeli with scrambled eggs, cheese, and herbs for a delicious breakfast sandwich. You can also pair them with smoked salmon and cream cheese for a more luxurious option. This makes for a filling and flavorful breakfast that will keep you energized throughout the day.
Afternoon Snack or Light Meal
Gipfeli also make a great snack or light meal in the afternoon. Serve them with a side of cheese and fresh vegetables for a savory option. For a sweet treat, enjoy them with a dollop of whipped cream or chocolate spread for an indulgent snack.
No matter how you serve them, Gipfeli will elevate any breakfast or snack time with their delightful flavor and texture.
How to Store Gipfeli to Keep Them Fresh Longer
To ensure your Gipfeli stay fresh for as long as possible, proper storage is essential. Here’s how you can store them to maintain their flaky texture and delicious flavor.
Room Temperature Storage
If you plan to eat your Gipfeli within a day or two, store them at room temperature in an airtight container or a resealable bag. This will help preserve their freshness and crispy exterior. Just make sure they’re completely cooled before storing to avoid condensation, which could make them soggy.
Freezing Gipfeli for Long-Term Storage
To keep your Gipfeli fresh for up to two months, freezing is the best option. Wrap each pastry individually in plastic wrap or foil, then place them in a freezer-safe bag or container. When you’re ready to enjoy them, simply reheat in the oven at a low temperature to restore their flakiness. This method allows you to enjoy fresh, homemade Gipfeli anytime!
Reheating Gipfeli
To preserve the crispiness when reheating your stored Gipfeli, avoid microwaving them. Instead, place them in a preheated oven at 350°F (175°C) for 5–10 minutes. This will revive the layers and keep the pastry from becoming too soft or chewy. If frozen, allow them to thaw first before reheating.
By following these simple storage tips, you can enjoy your Gipfeli long after baking, keeping them as fresh and delicious as the day they were made!
Tips for Freezing and Reheating Gipfeli Without Losing Flakiness
Freezing Gipfeli is a great way to prepare in advance and enjoy fresh pastries at a later time. To maintain their flaky texture, start by freezing the unbaked dough. After shaping your Gipfeli, place them on a baking sheet lined with parchment paper and put them in the freezer until solid. Once frozen, transfer them to a sealed plastic bag or airtight container. This method preserves the layers, allowing you to bake them fresh when desired.
When you’re ready to bake, there’s no need to thaw the dough. Simply place the frozen Gipfeli on a baking sheet, brush with an egg wash, and bake as you normally would, adding a few extra minutes to the baking time. This will result in crispy, flaky pastries that taste just like fresh out of the oven!
For reheating already baked Gipfeli, use an oven instead of a microwave to avoid losing their crispiness. Preheat your oven to 350°F (175°C), and bake the pastries for about 5-10 minutes until warm and slightly crispy. This method helps the layers stay intact, giving you that perfect crunch and softness inside.
By following these simple tips, you can enjoy your Gipfeli at its best, even after freezing or reheating!
Common Questions About Making Gipfeli
Can I Make Gipfeli Without Yeast?
While traditional Gipfeli relies on yeast to create its light, airy texture and flaky layers, it’s possible to make a yeast-free version. However, the result will be a bit different. Yeast gives the dough its rise and fluffy texture, so skipping it means you won’t get the same soft, airy bite typical of classic Gipfeli.
Using Baking Powder or Soda Instead
If you’re looking for a quicker version, you can substitute yeast with baking powder or baking soda. These ingredients will help the dough rise without the long waiting time that comes with proofing yeast. However, the texture will be denser and less flaky. You’ll also miss out on that subtle yeast flavor that is characteristic of traditional Gipfeli.
What to Expect in Terms of Flavor and Texture
Gipfeli made without yeast will still be delicious, but expect a slightly heavier, more biscuit-like texture. The dough will be more similar to that of a scone or a pastry rather than the traditional laminated layers of a croissant-style pastry. If you prefer a lighter texture, using a yeast alternative will create a good compromise for a faster preparation.
While yeast-free Gipfeli is a viable option, it’s important to remember that the classic yeast version offers that signature, delicate flakiness that makes this Swiss pastry so beloved!
How Do I Make Sweet vs. Savory Gipfeli?
Making sweet vs. savory Gipfeli involves a few simple adjustments in both the filling and the preparation. The process of making the dough is the same for both variations, but the fillings and flavor profiles differ significantly.
Making Sweet Gipfeli
For sweet Gipfeli, start by preparing the dough as usual, but when it comes to filling, you can get creative! Popular sweet fillings include chocolate, fruit jams, or almond paste. To make chocolate-filled Gipfeli, simply spread a thin layer of Nutella or place a small piece of dark chocolate on the dough before rolling. For fruit-filled Gipfeli, spread your favorite jam (like raspberry or apricot) on the dough and roll it up. After baking, sweet fillings can be enhanced with a dusting of powdered sugar or a drizzle of chocolate glaze for extra sweetness.
Making Savory Gipfeli
For savory Gipfeli, the key is to choose ingredients that complement the buttery, flaky dough. You can use cheese, herbs, or vegetables as fillings. Classic options include Swiss cheese (like Gruyère or Emmental) with a pinch of black pepper or spinach and feta for a Mediterranean twist. To make these, simply layer your filling ingredients onto the dough before rolling, ensuring you don’t overstuff them. For a more hearty option, try cream cheese and herbs, or sun-dried tomatoes with mozzarella. After baking, you can brush the tops with an olive oil glaze or sprinkle with sea salt for extra flavor.
Whether sweet or savory, both versions are perfect for breakfast, brunch, or as a snack, offering a delicious twist on the traditional Swiss Gipfeli!
What’s the Best Way to Reheat Gipfeli Without Losing Crispiness?
Reheating Gipfeli properly is essential to maintaining their signature flaky texture and buttery flavor. The key is to avoid methods that can make the pastry soggy or chewy. Here’s how to reheat your Gipfeli while preserving their crispiness:
Use the Oven
The best way to reheat Gipfeli is by using an oven, as it helps restore their flaky layers. Preheat your oven to 350°F (175°C) and place the Gipfeli on a baking sheet. You can wrap them loosely in aluminum foil to prevent over-browning, then bake for about 5 to 10 minutes. For extra crispiness, unwrap the foil in the last 2 minutes of baking. This method helps maintain the pastry’s texture without drying it out.
Skip the Microwave
While the microwave is convenient, it tends to soften the pastry, making it lose its crispiness. If you must use the microwave, wrap the Gipfeli in a damp paper towel and heat them for 10 to 15 seconds at a time to avoid overheating. However, this is not the ideal method for preserving their texture.
Reheating Gipfeli in the oven ensures a crisp outer layer and a warm, soft interior—just like fresh out of the oven!
Pro Tip for Perfect Gipfeli Every Time
For an extra touch of flakiness and richness, try chilling the dough for about 30 minutes before rolling it out. This helps the butter firm up, making it easier to create those perfect layers. Additionally, using cold butter and cold water in the dough ensures that the layers stay distinct and flaky during baking. It’s a small step that makes a big difference in the texture of your Gipfeli!
Source Links
Gipfeli Recipe – A Delightful and Easily Homemade Swiss Pastry

